Description:
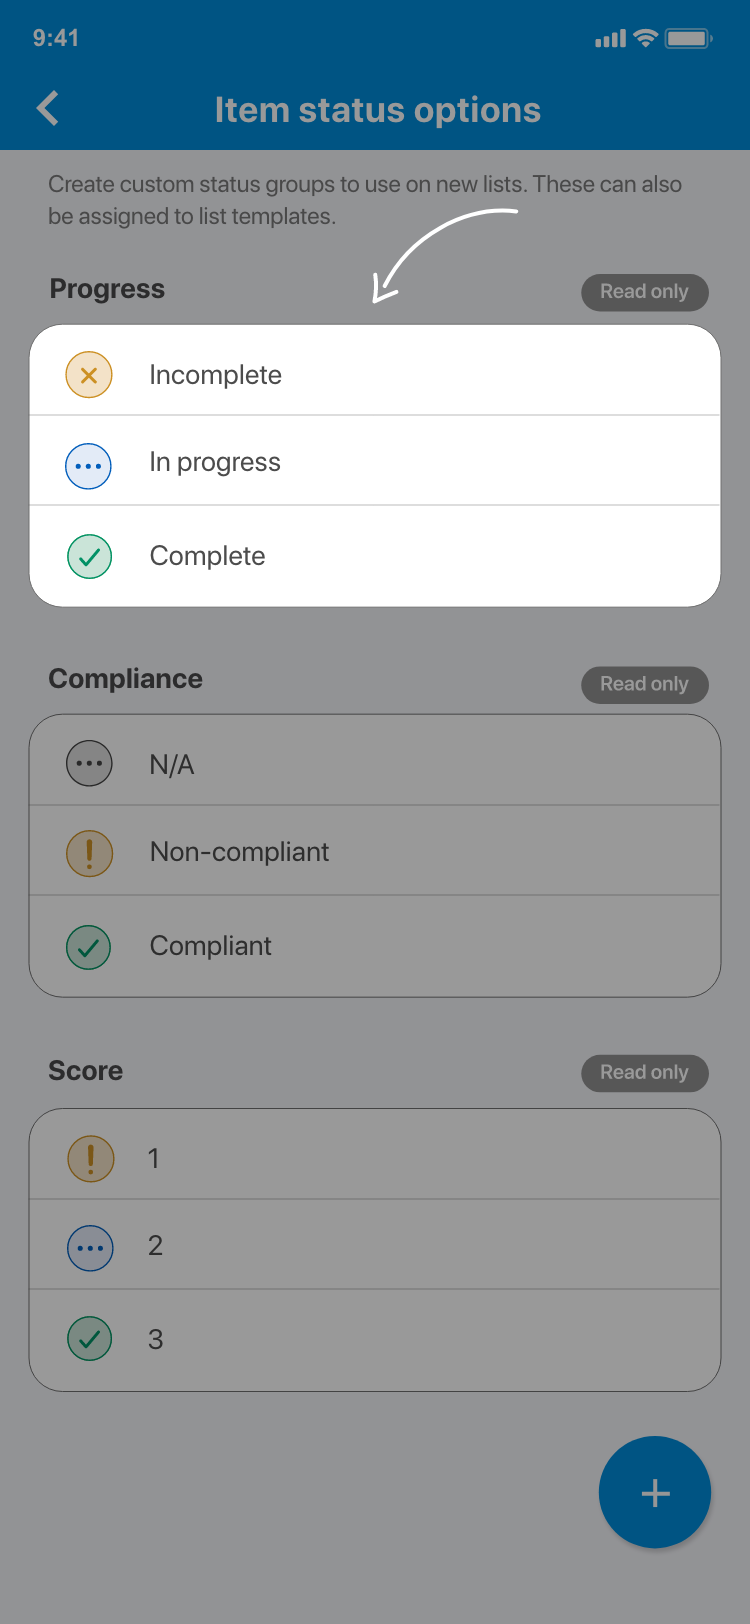
When creating a list you will see the option to choose a status group. By default, the list will use the Progress option which allows you to track the progress of your items with the following statuses:
- Incomplete
- In progress
- Complete
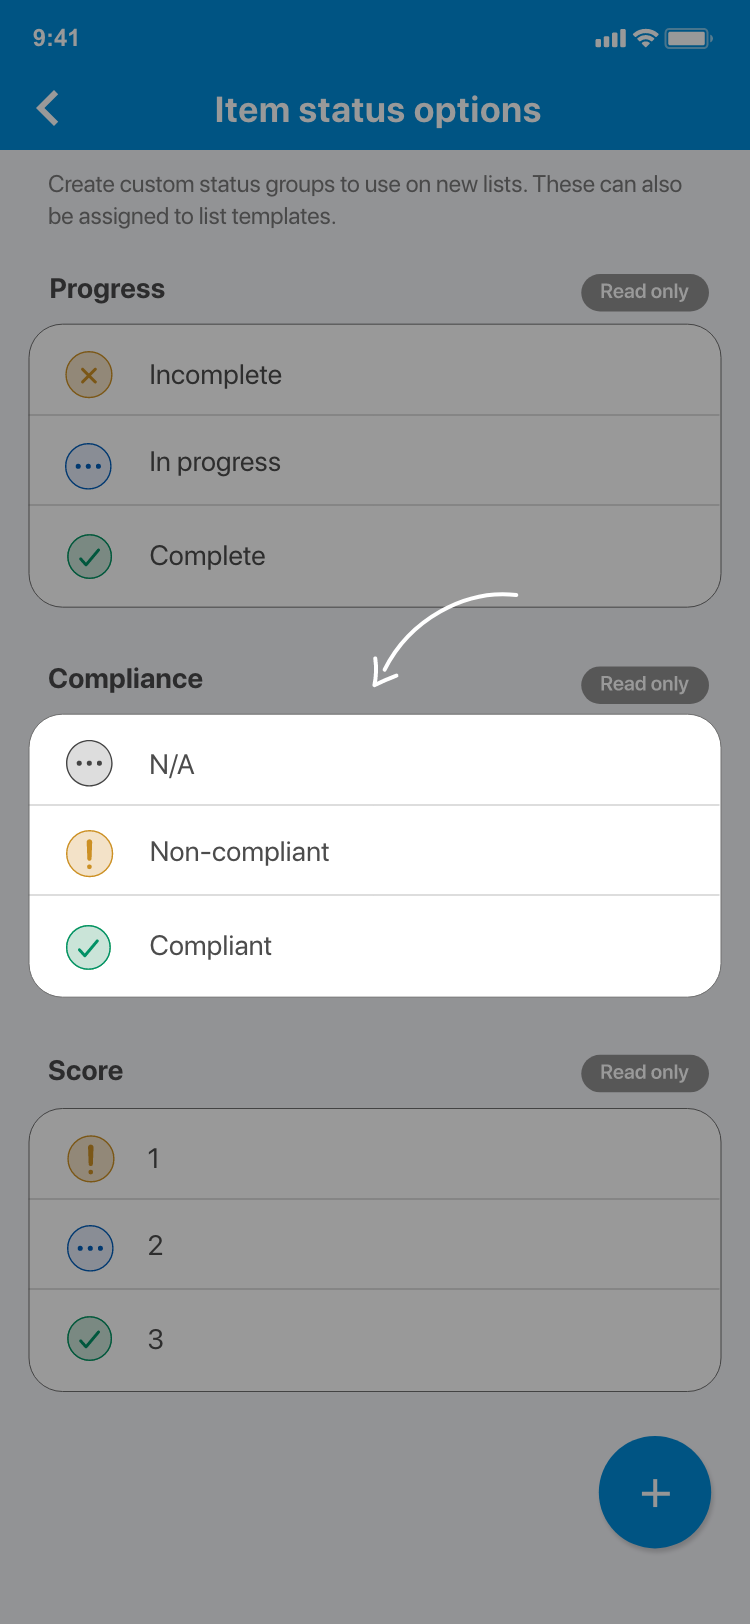
You can also choose from two other default sets:
Compliance
- N/A
- Non-compliant
- Compliant
Score
- Poor
- Average
- Good

As well as choosing from the default groups you can also create your own custom groups of options to which you can assign custom labels, colours and icons.
Notes:
- Only Project Admins can access the Status options settings and therefore create custom groups.
- Given that this is a project-level setting, the custom groups will be available on all new lists as well as list templates.
- Changes made to custom groups will not have an effect on any existing lists which use the group to maintain the integrity of the statuses on existing items. The changes will, however, take effect on any list templates that use the custom group.
Contents:
This article covers the following actions:
- Creating custom status groups
- Reordering a custom status group
- Renaming & deleting a custom status group
Guide:
1. Creating custom status groups
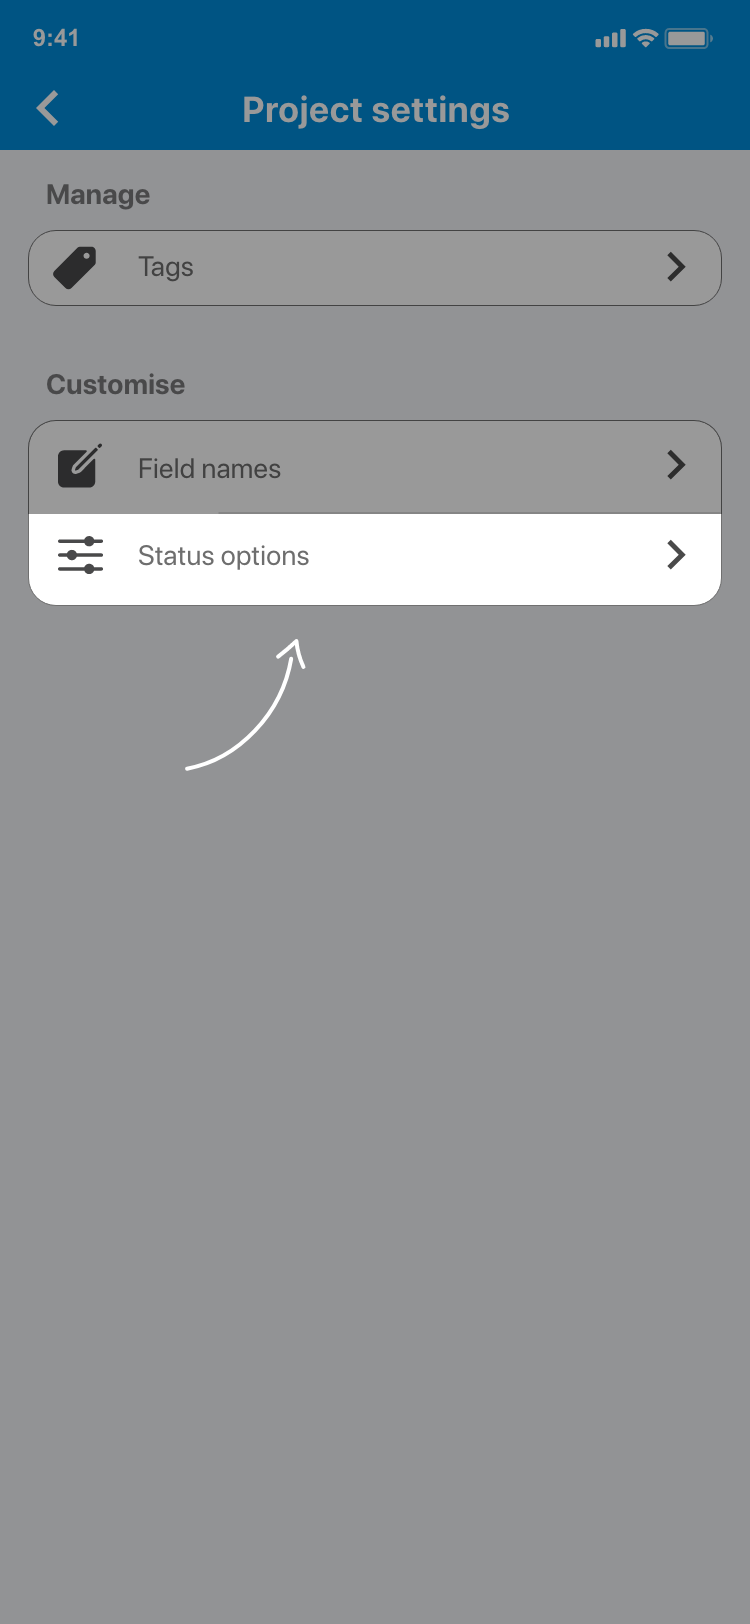
1.1. From the home screen go to Your project.

1.2. You will now be presented with the project overview screen.
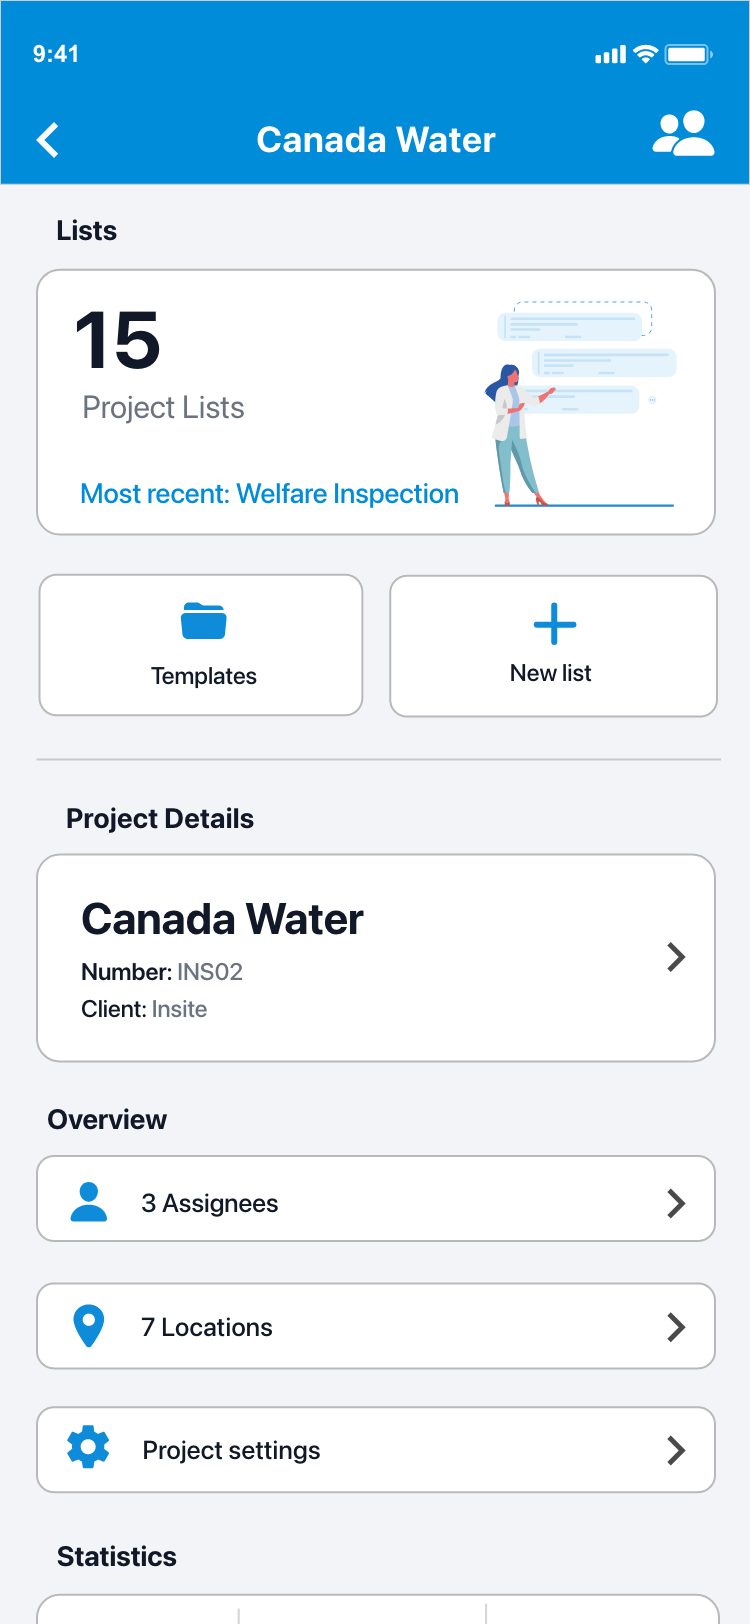
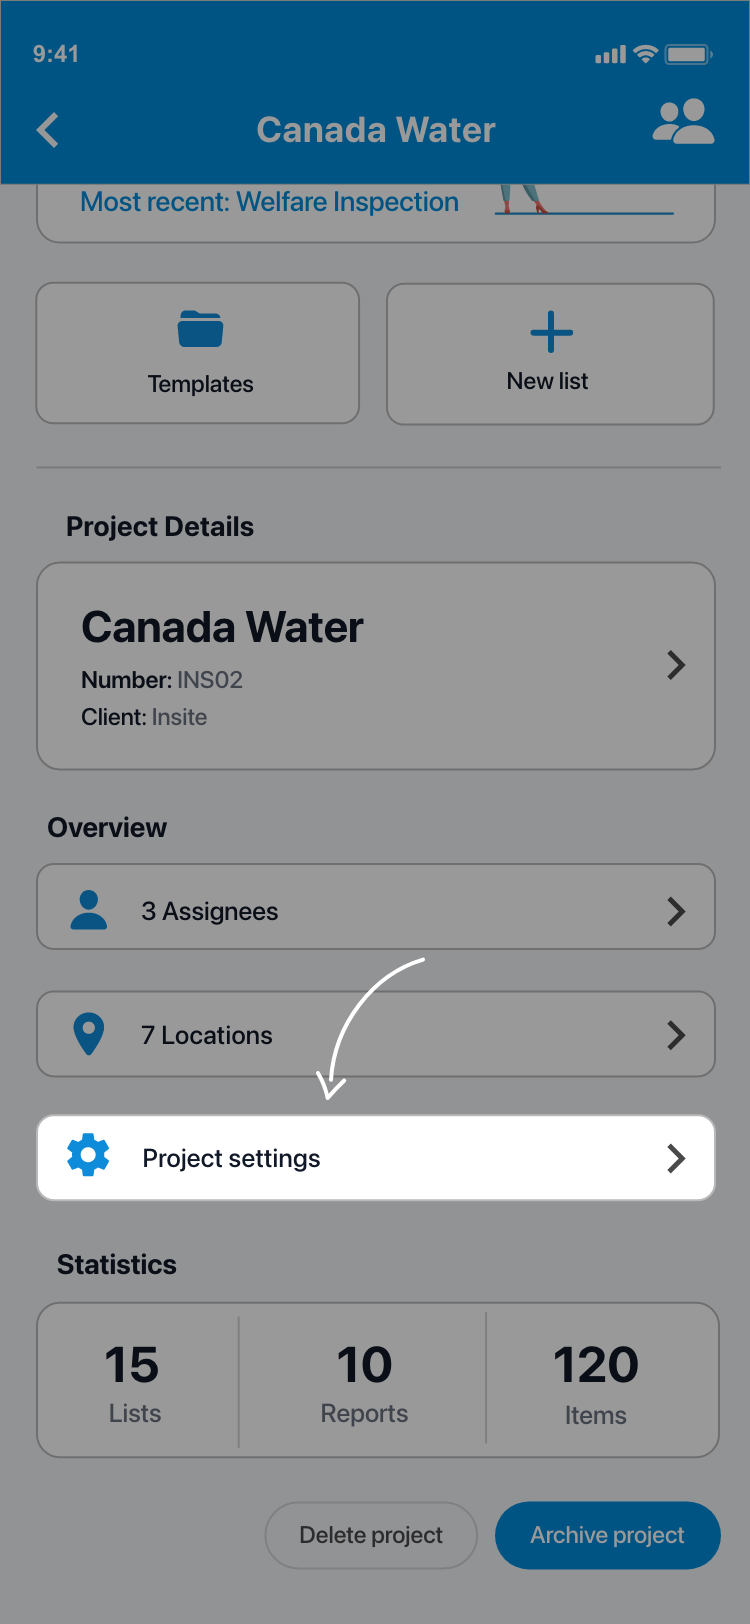
1.3. Tap Project settings under the locations card.
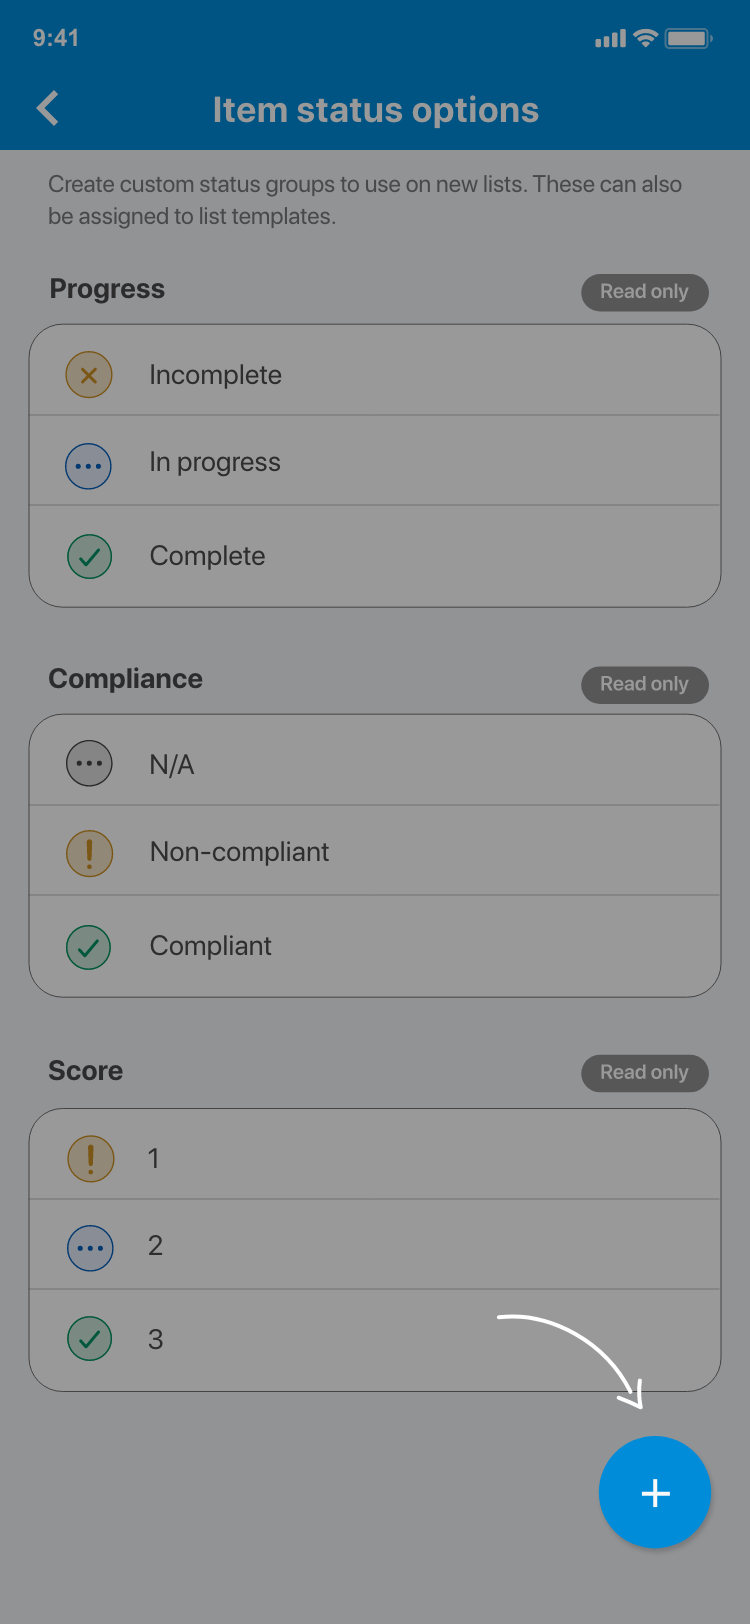
1.4. Go to Status options. You will now be presented with all of the available status groups for the project. By default, you will find the following options: Progress, Compliance & Score.

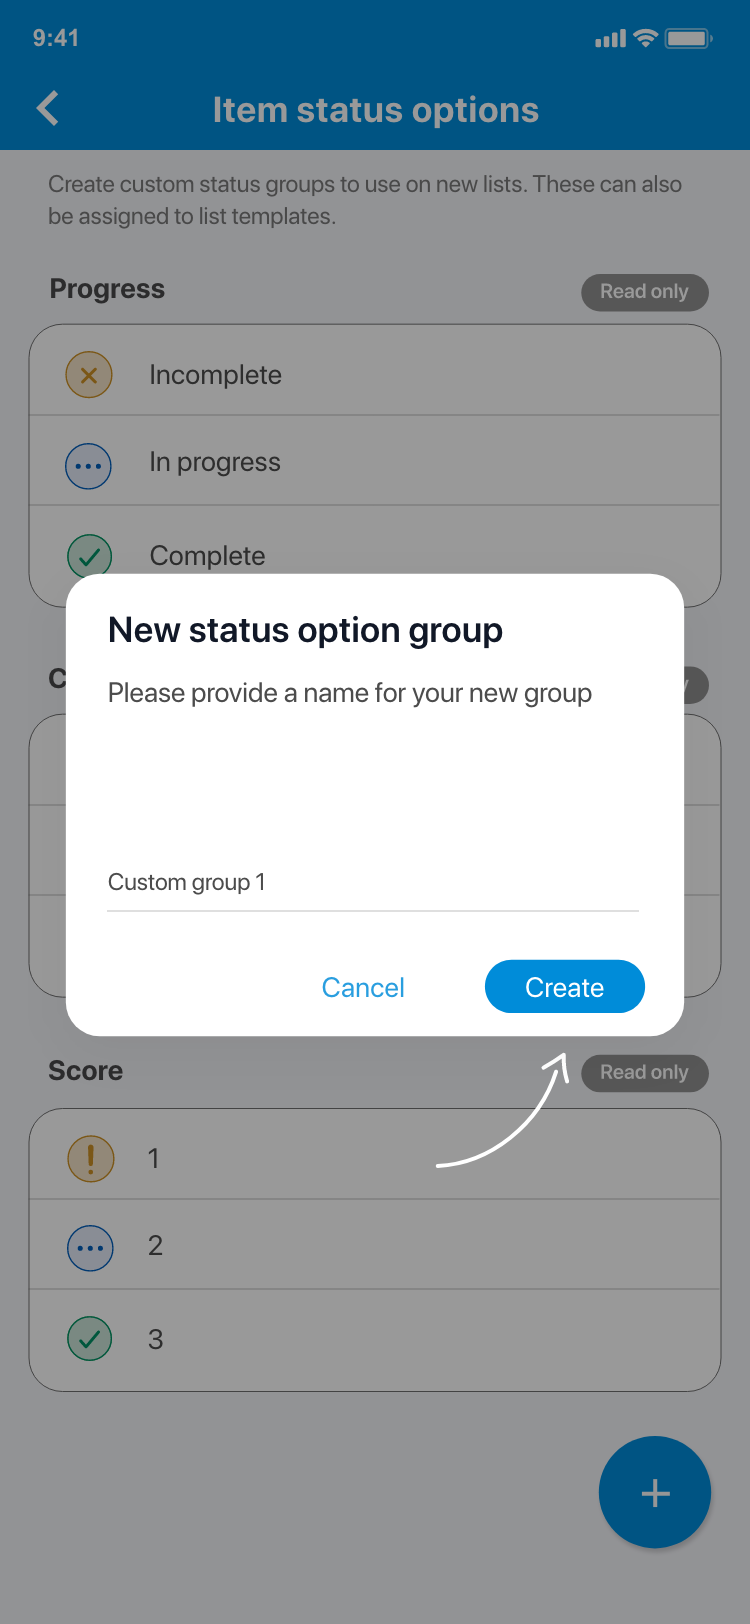
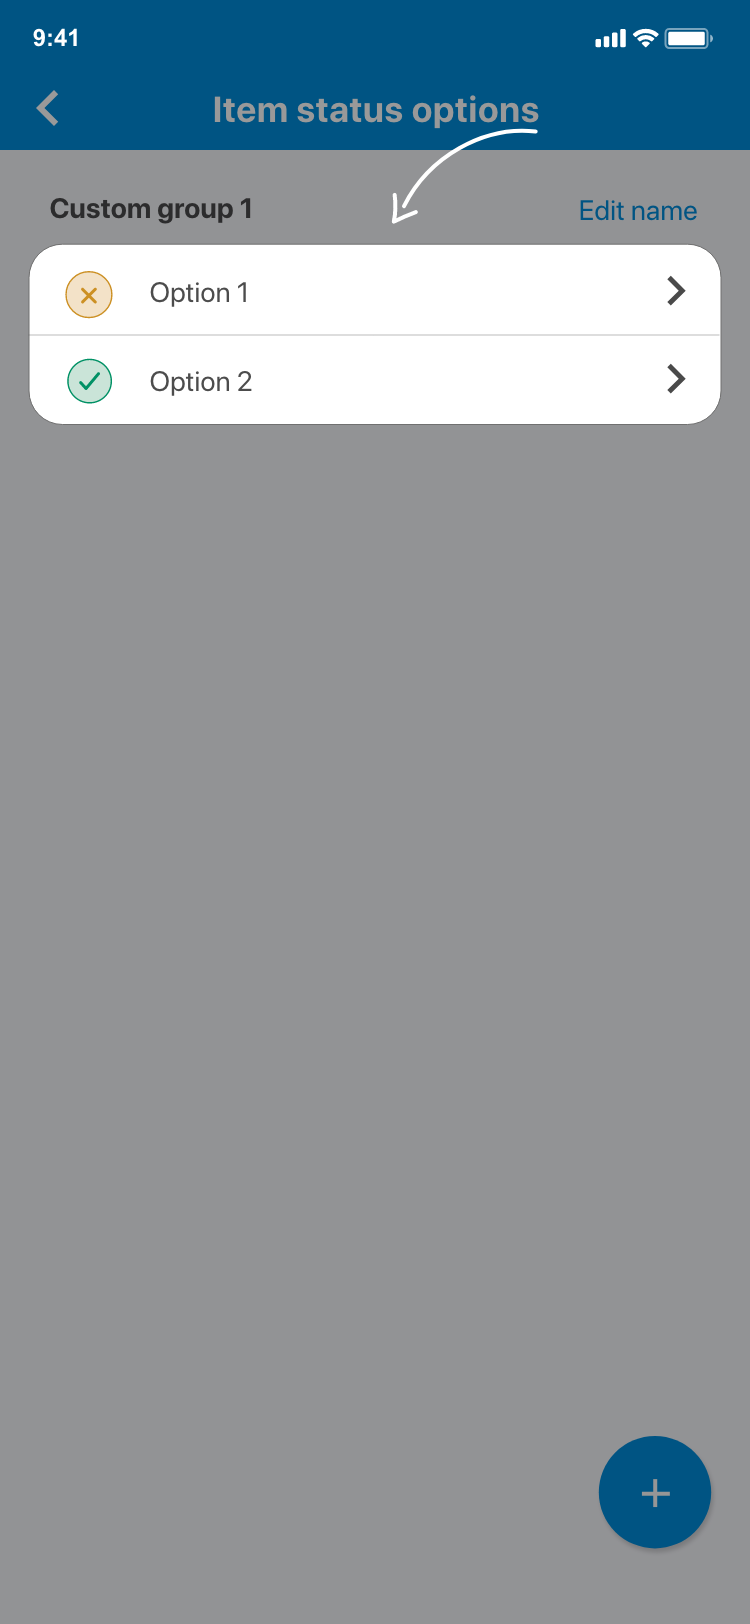
1.5. Tap on the Blue ⊕ button to add a new custom group of status options. You will now be presented with an alert where you can give your new group a name.
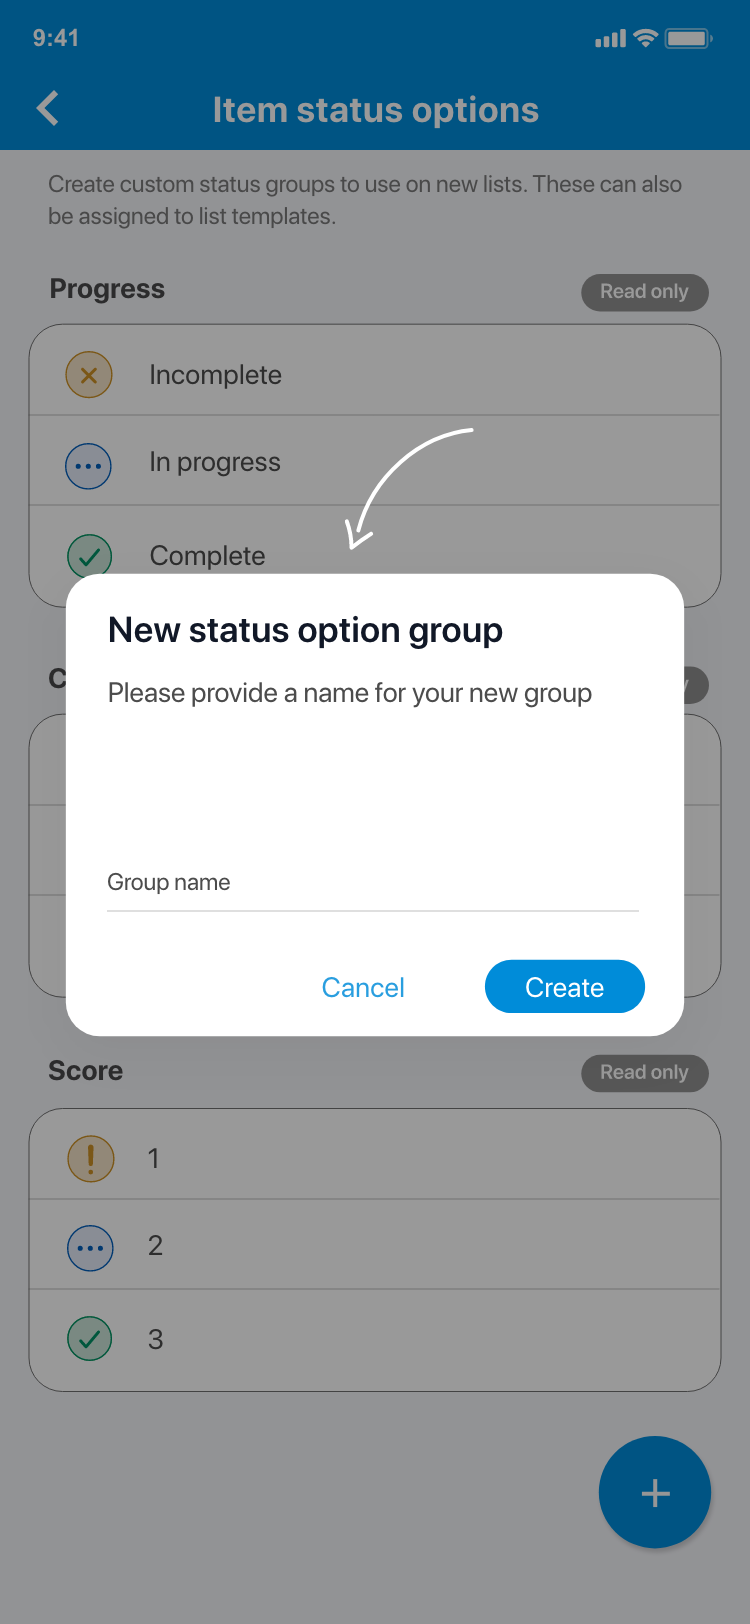
1.6. Provide a name for your custom status group and tap Create when you are done. A new group will be created with three default options.
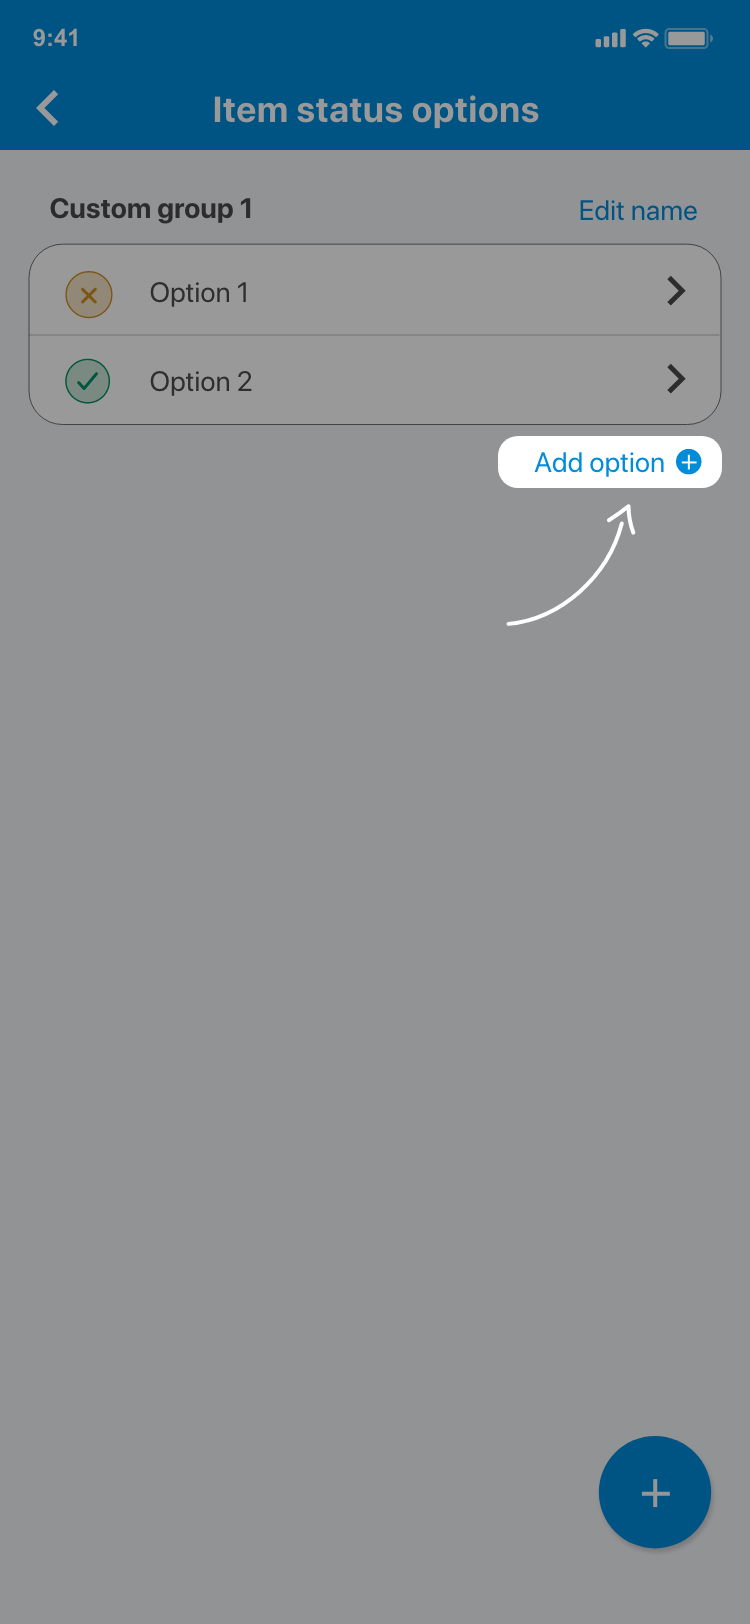
1.7. Use Add option + to add more options to your custom status group. Note: You can also reorder status options using the Manage group button.
1.8. Tap on each of the options in your new group to be taken to the Edit option screen where you can update their name, colour and icon. Note: from here, you can also remove options from your group using the Delete option button.
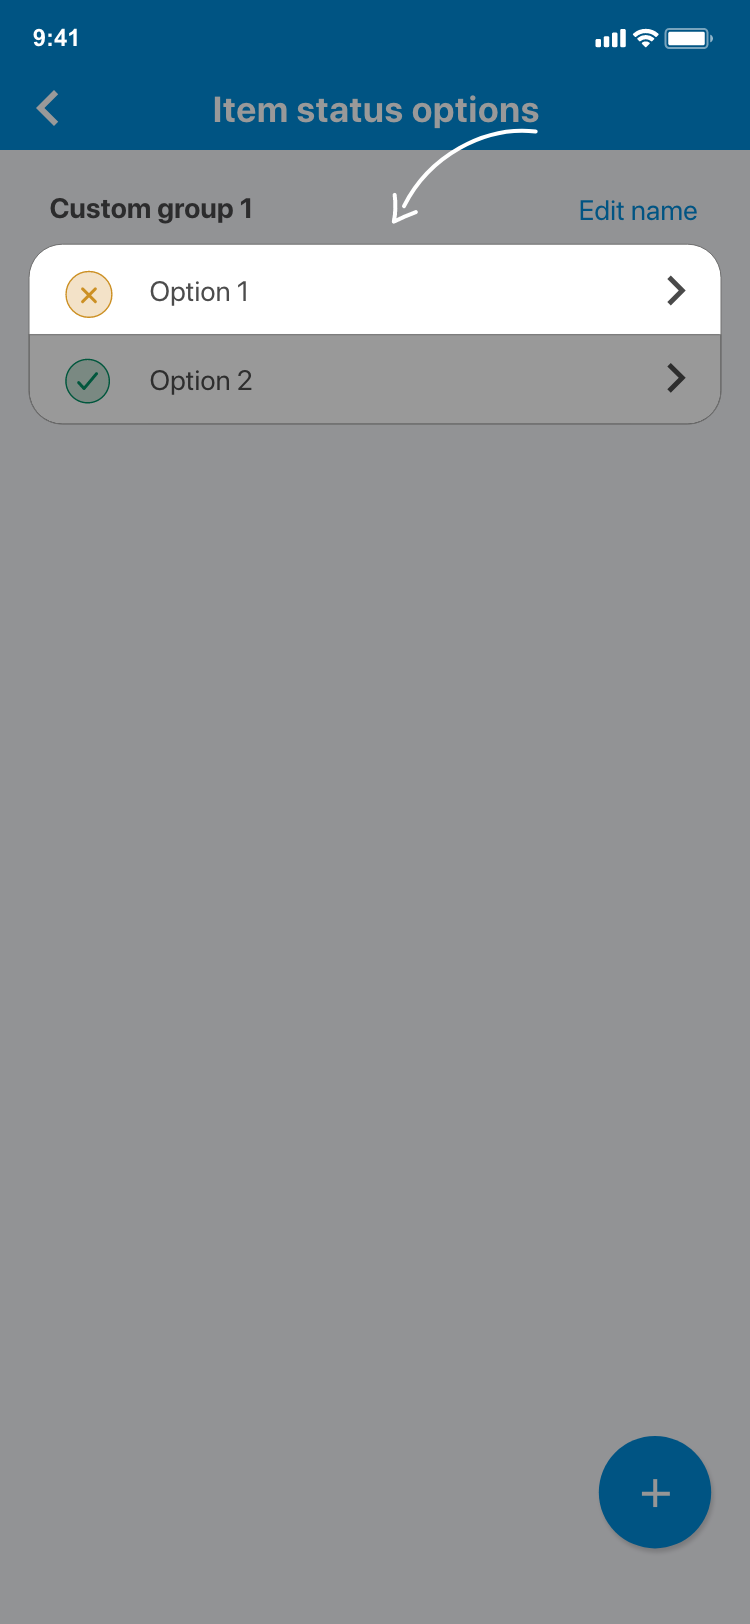
1.9. Enter a name for your option in the input field under the Status label heading. Choose a colour under the Choose colour heading. Finally, select an icon under the Choose icon heading.
1.10. Optionally, you can add a score to your status option and also determine whether any items with the status should be considered 'closed'. For more information on using the scoring system, see Scoring status options.
In regards to marking options as closed, by default, the last option in a custom status group will be deemed as the 'closed' status. This means that any items with this status will be considered 'closed'. Therefore, they will be counted towards the 'closed' count on the list and they will not show as overdue when the due date is in the past. To mark an option as closed, use the toggle next to Mark option as closed under the Additional settings heading.
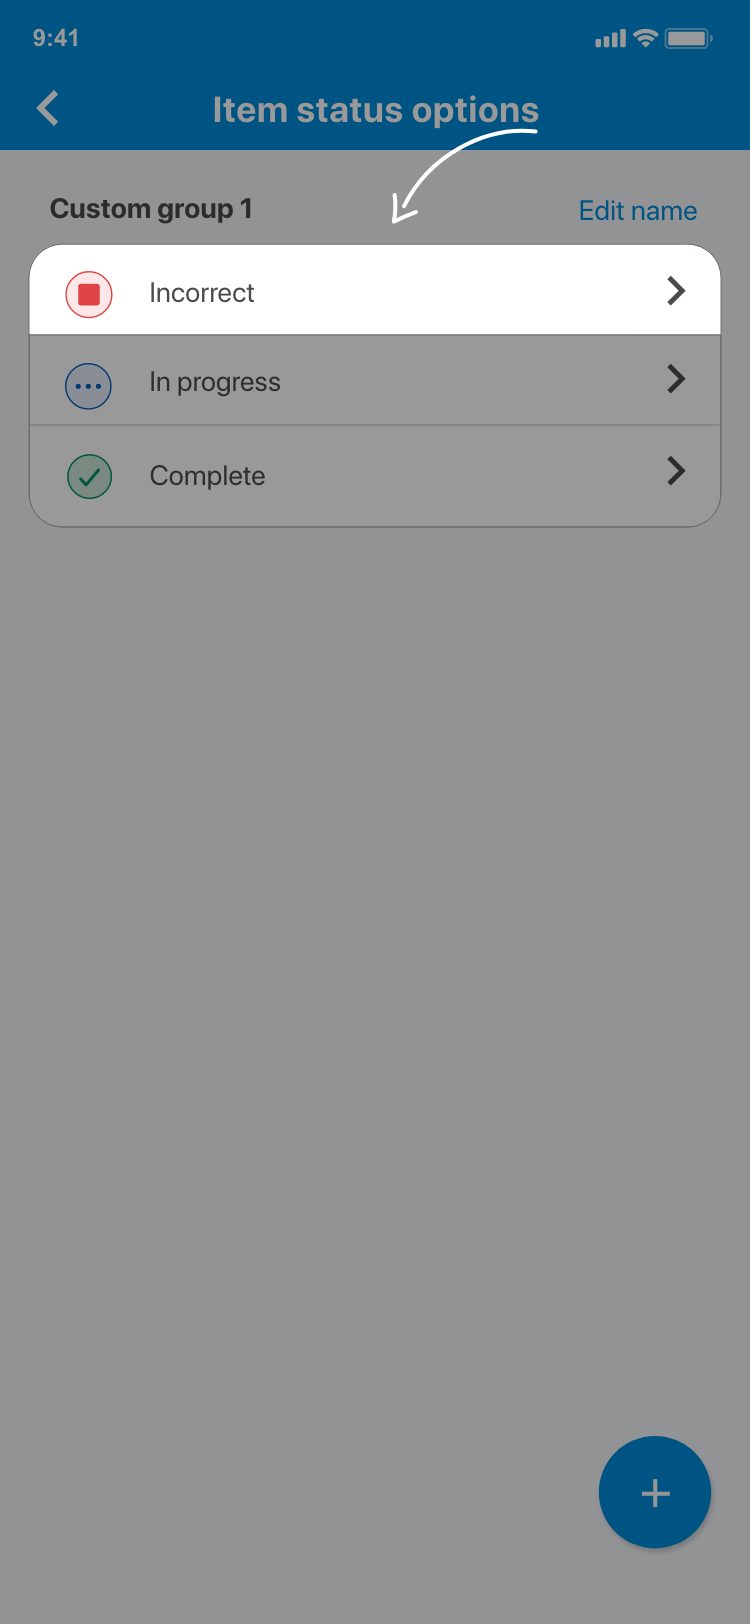
1.11. Tap Save in the top right of your screen when you are done. Your status option will be updated. Repeat steps 7 & 8 for each option in your new group. You can now use your new group on your lists & items - see Using custom status options & Change an item's status.
2. Reordering a custom status group
2.1. From the home screen go to Your project.
2.2. You will now be presented with the project overview screen.
2.3. Tap Project settings under the locations card.
2.4. Go to Status options.
2.5. Find the custom group you want to reorder and tap on Manage group. You will now be presented with some options. Choose Reorder locations and the status options will move over to reveal grab handles (⚌).
2.6. Use the handles to drag and drop the status options into the preferred order.
2.7. Tap Save when you are done to save the new order.
3. Renaming & deleting a custom status group
3.1. From the home screen go to Your project.
3.2. You will now be presented with the project overview screen.
3.3. Tap Project settings under the locations card.
3.4. Go to Status options.
3.5. Find the custom group you want to rename or delete and tap on Manage group. You will now be presented with some options. Choose the desired option.
3.6. You will now be presented with an alert. Use the alert to delete or rename the status group.
Comments
0 comments
Please sign in to leave a comment.