Description:
This article covers adding, marking up and removing images from your items. You can add as many images to your items as required.
Notes:
- Any changes you make will only take effect once you have saved the item.
Contents:
This article covers:
Guide:
1. Adding images
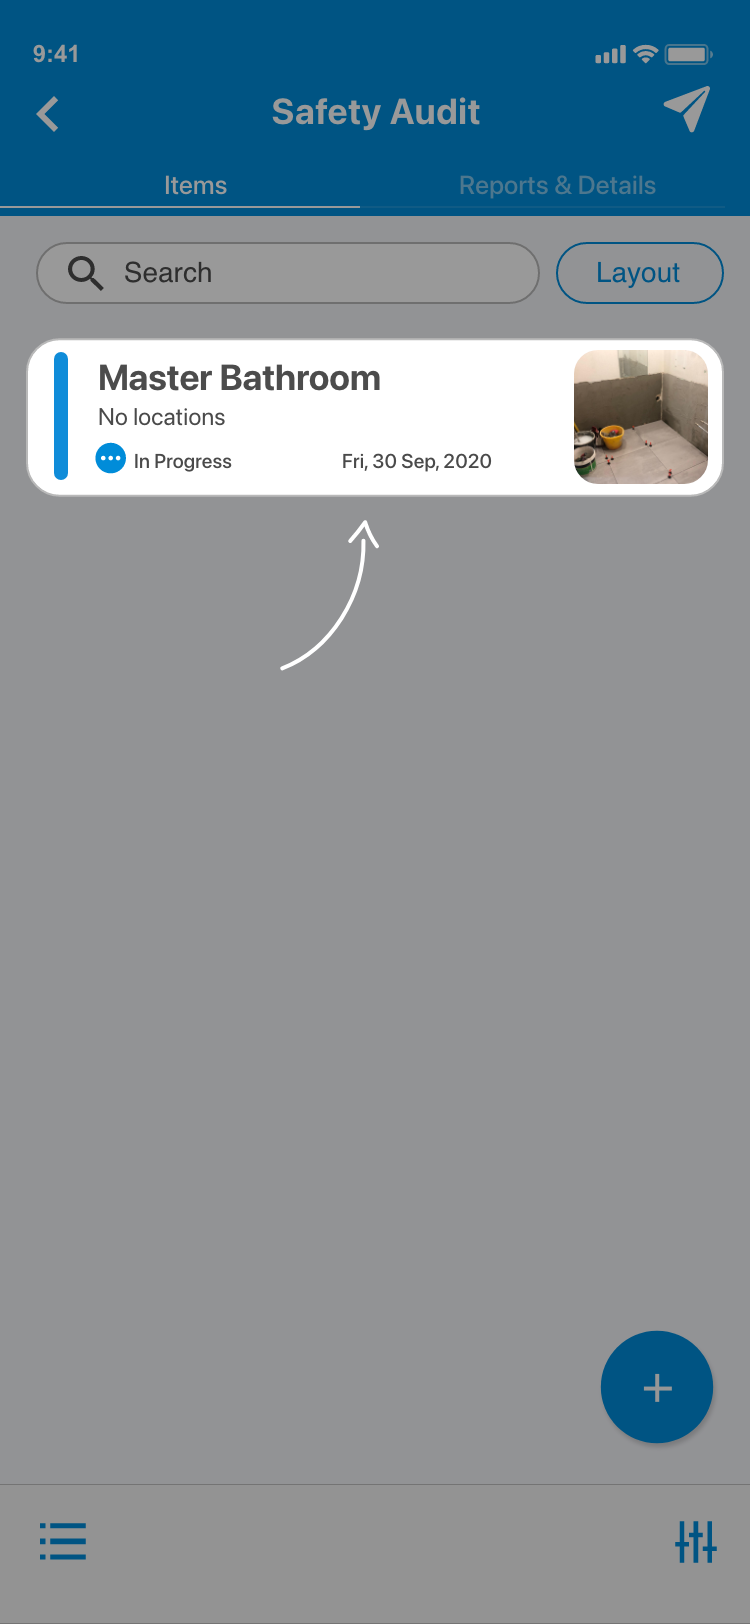
1.1. Open up the item that would like to add images to.
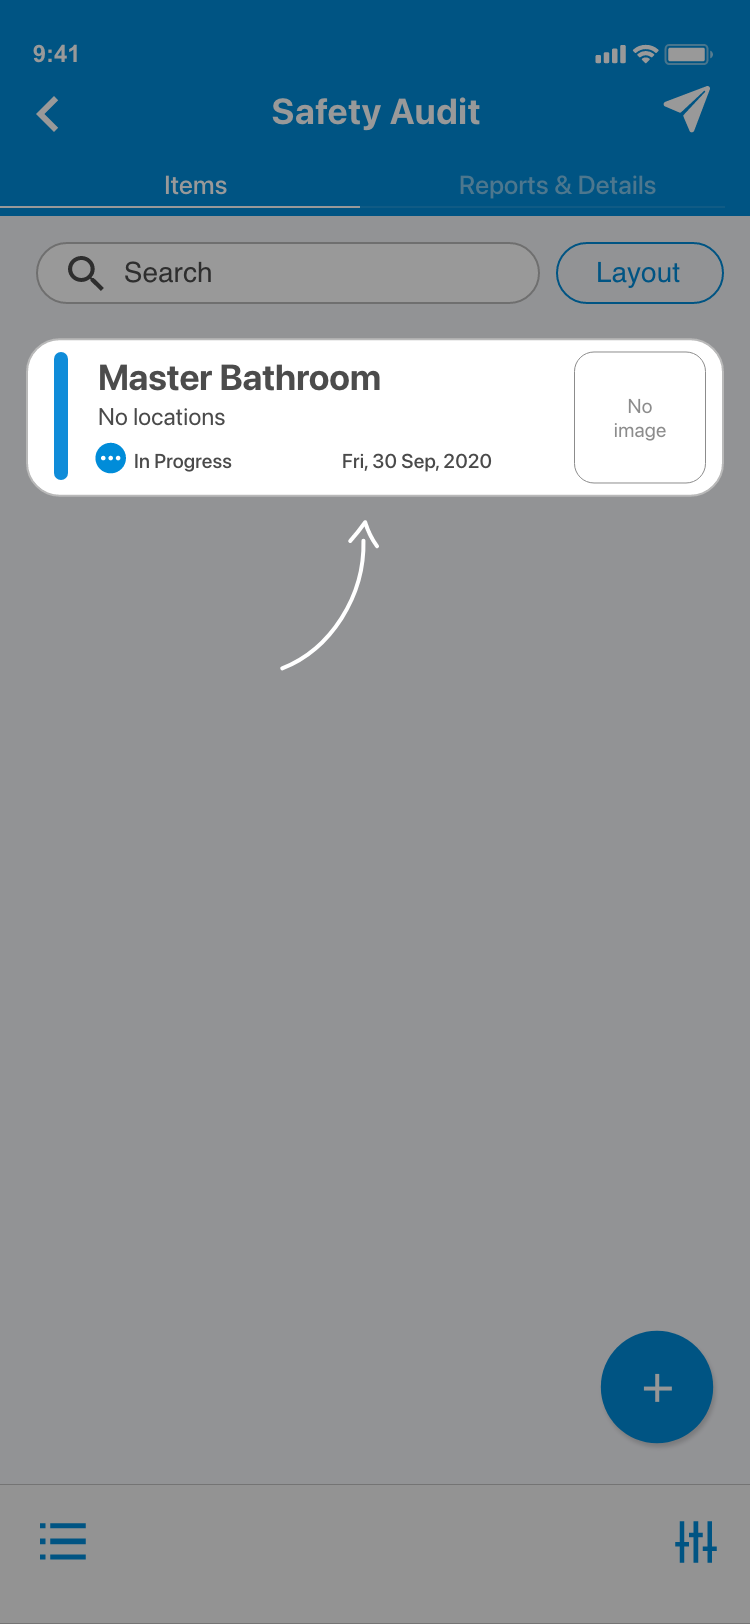
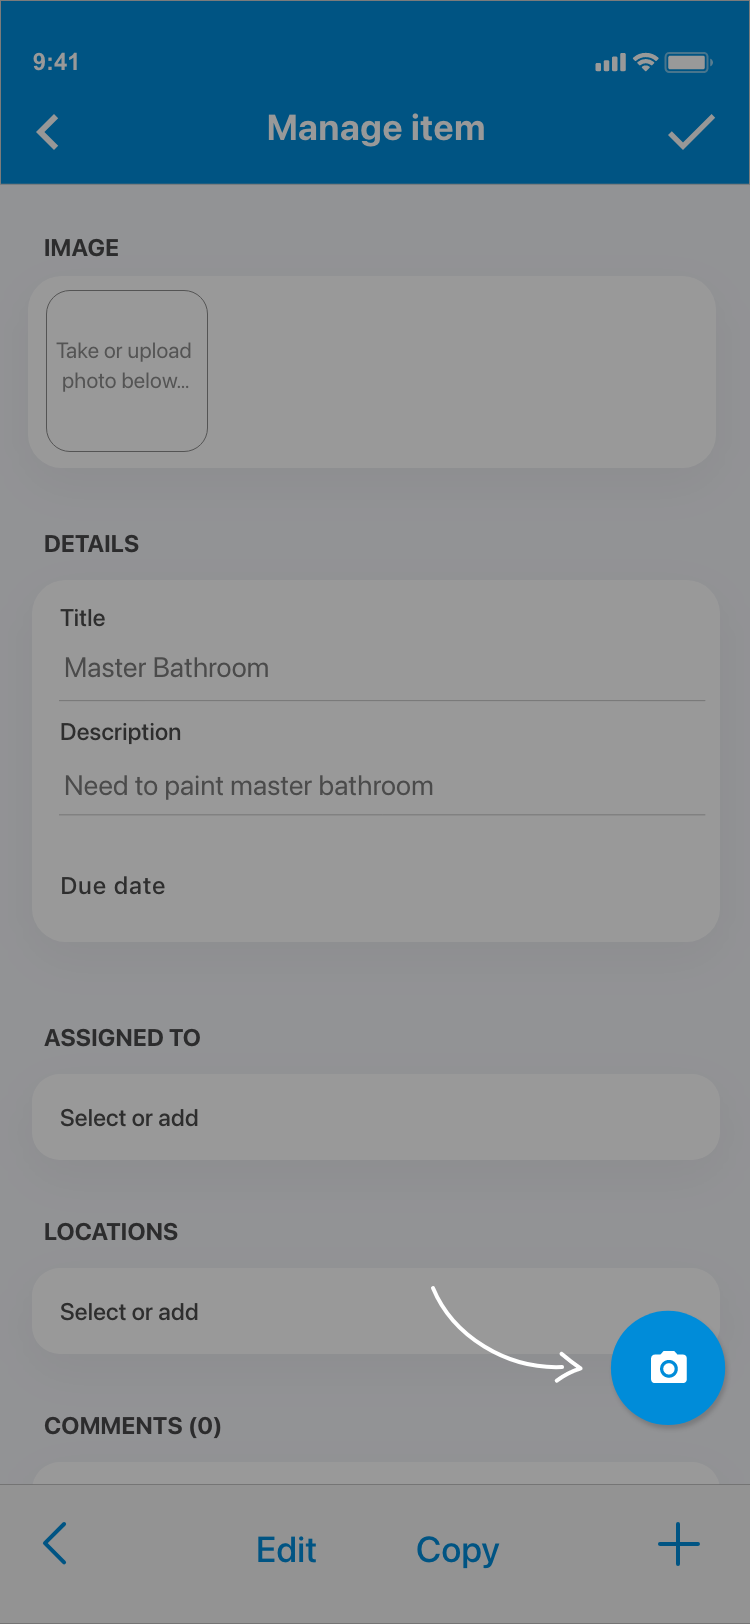
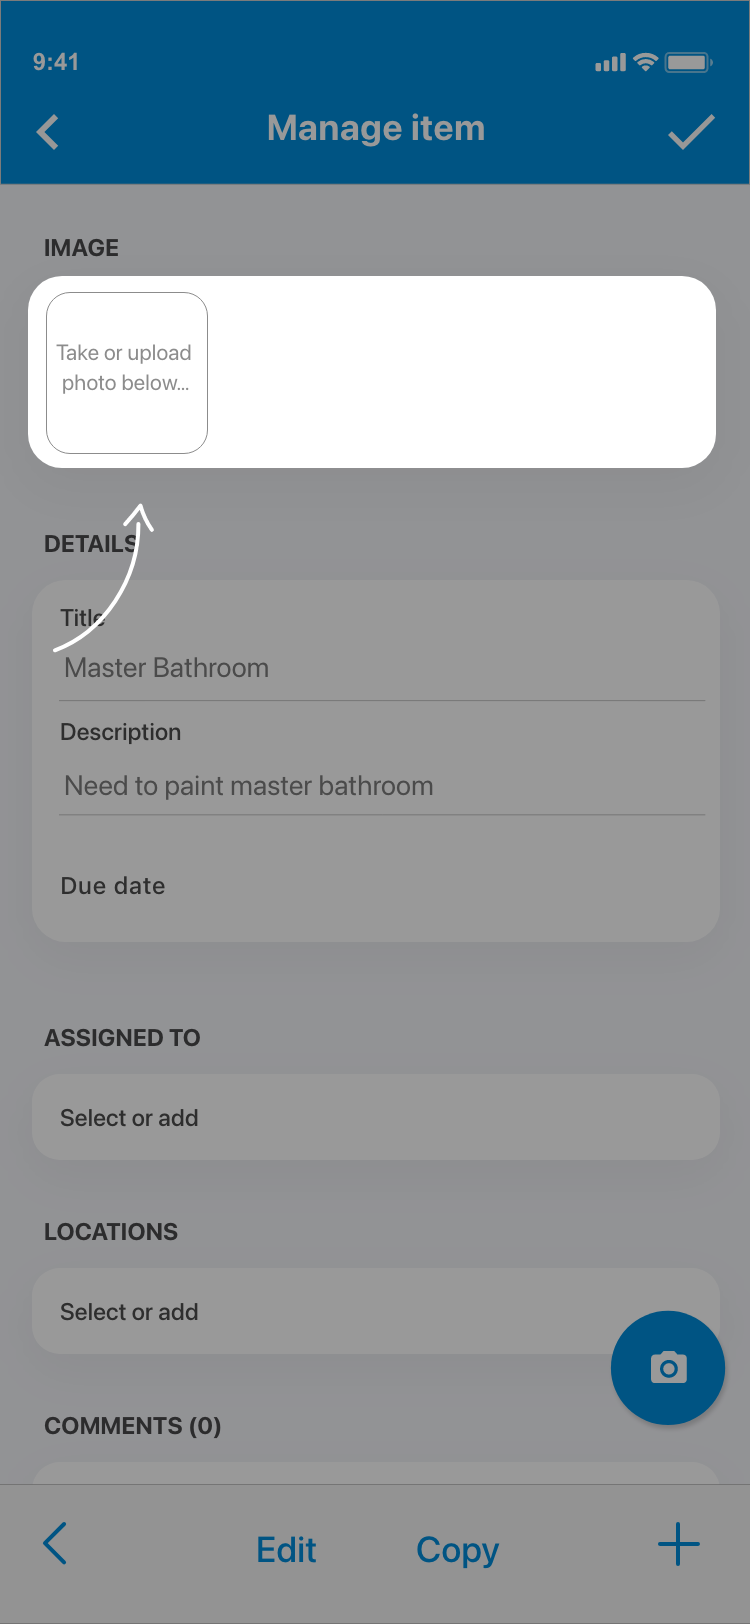
1.2. Tap the Blue camera button in the bottom right-hand corner of the screen.
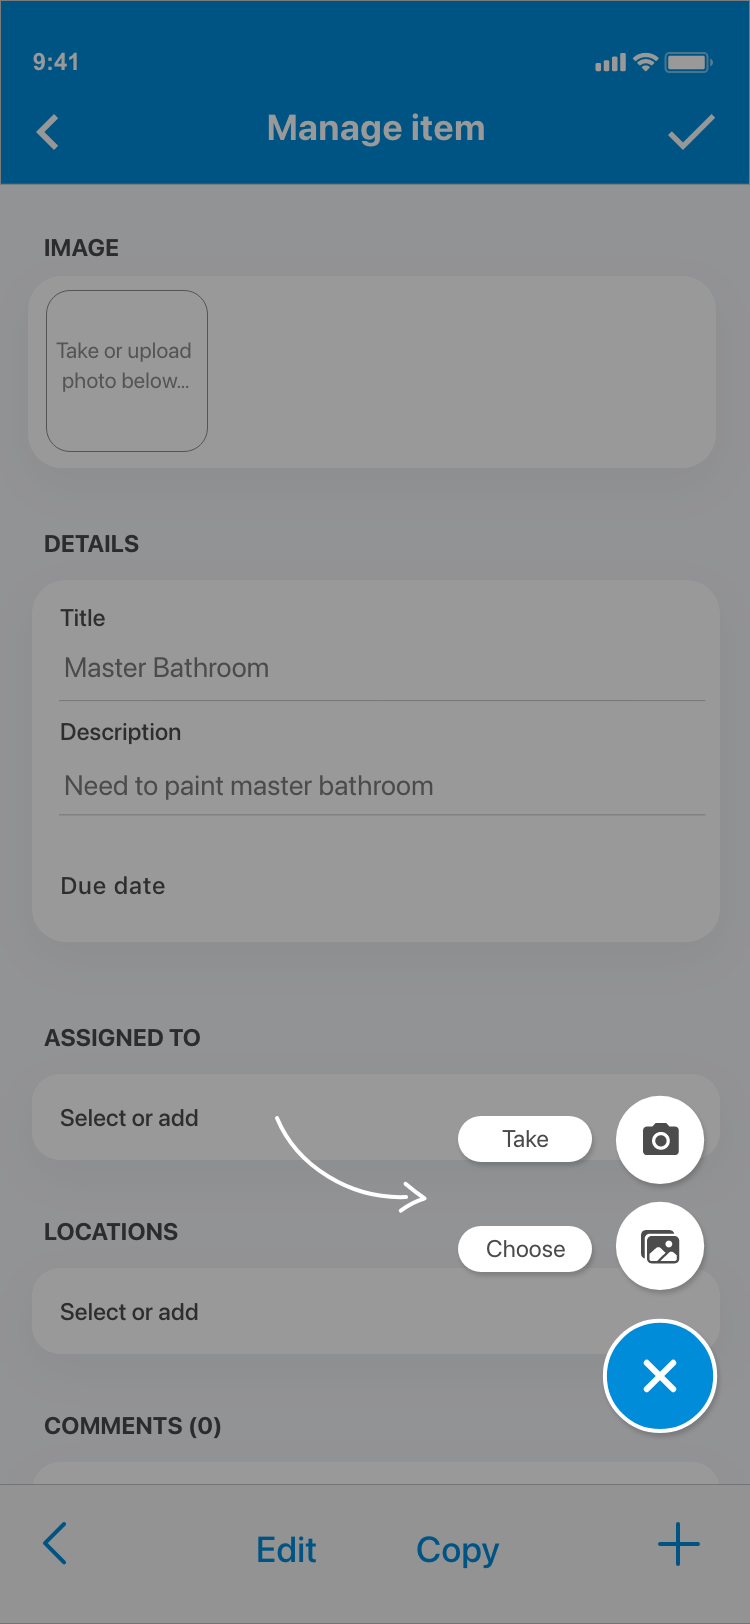
1.3. Tap either Choose to open up your image library and choose a photo, or Take to open your device's camera and take a new photo. If you are unable to choose or take a photo you may need to update your permission settings.
Note: On the web app for desktops and laptops, you can drag and drop images to add them from your file explorer.
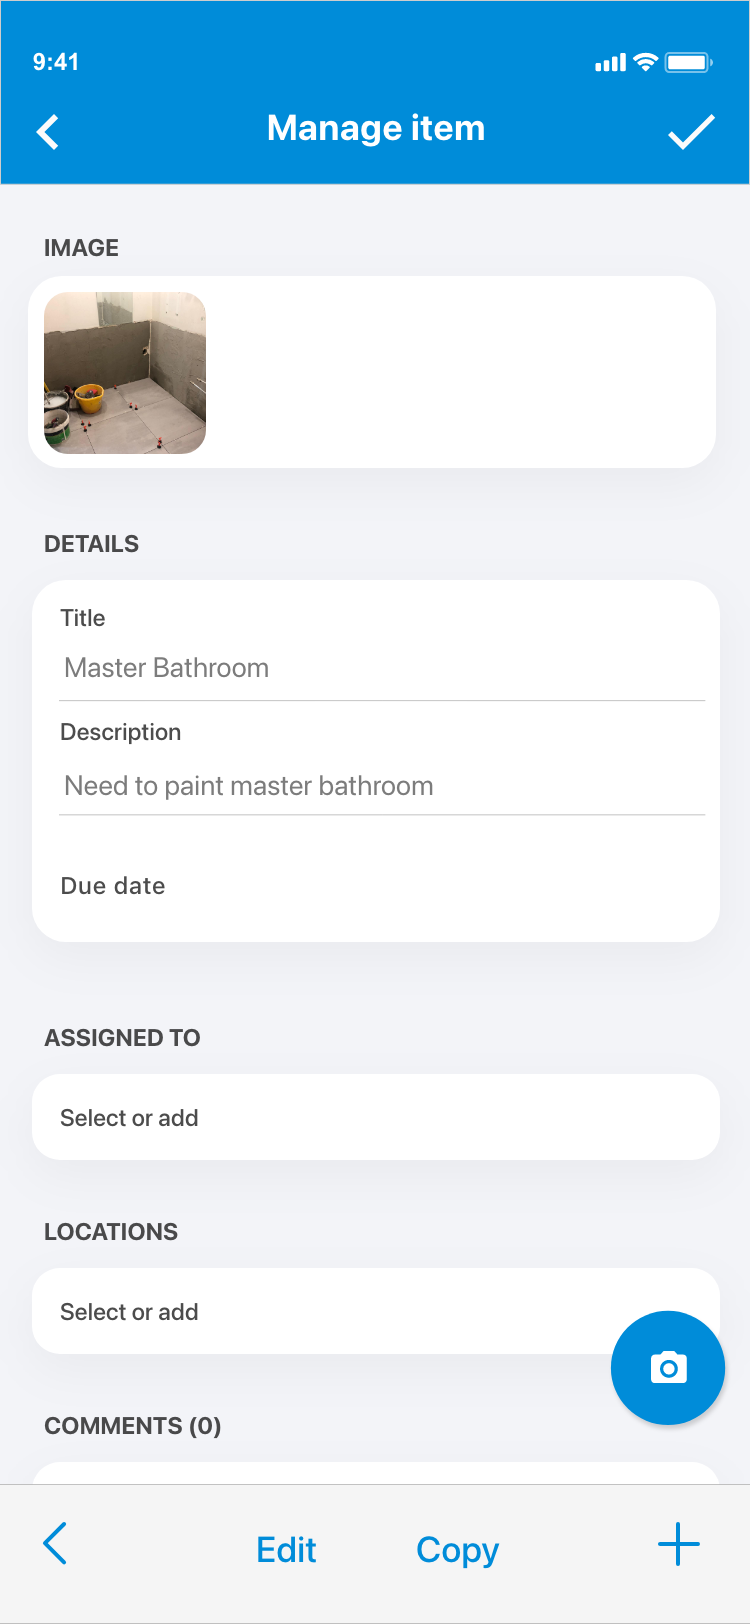
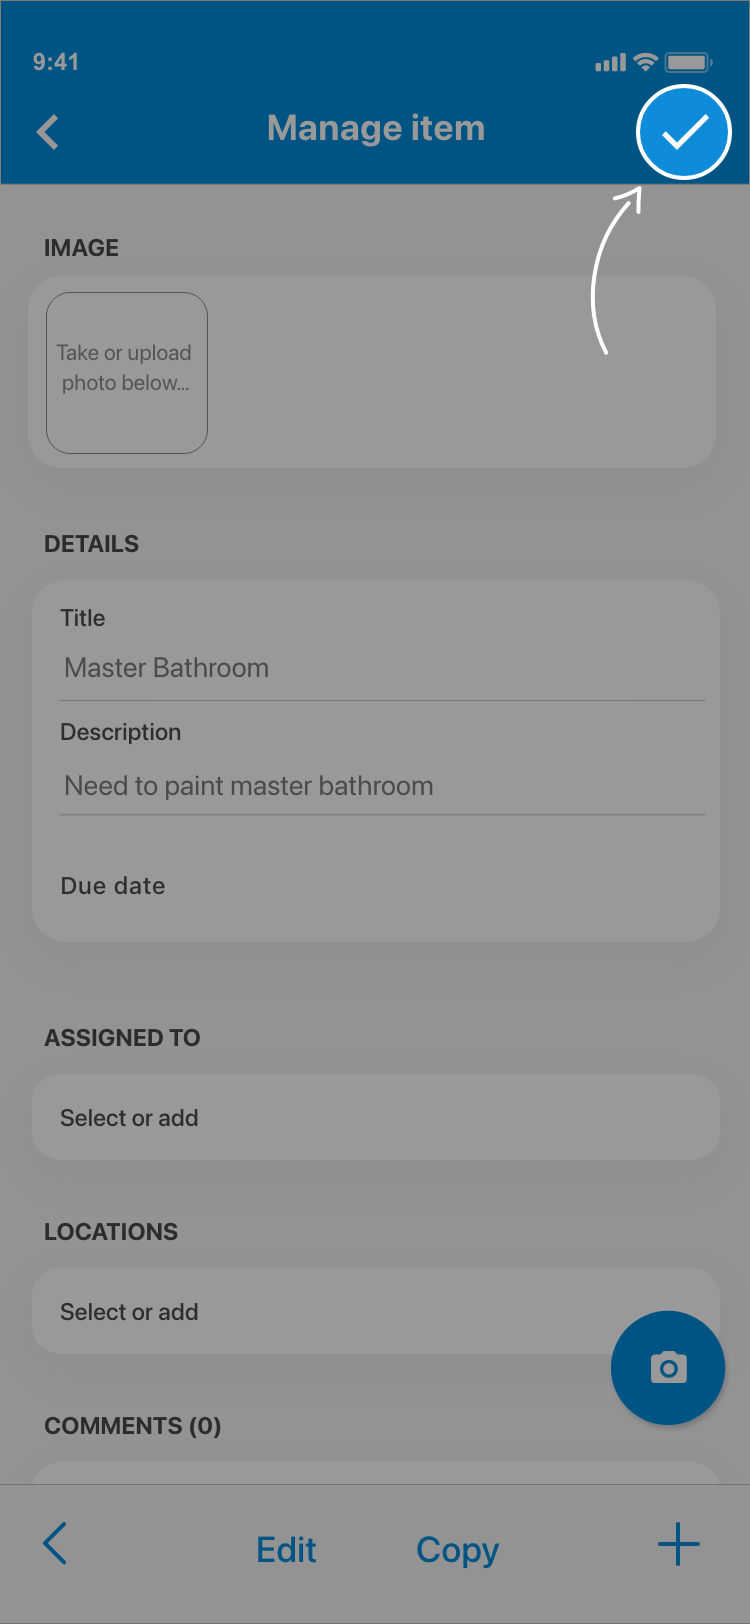
1.4. You should now see your new image in the container under the Image heading. To save your changes make sure to tap the ✓ in the top right of your screen.

2. Editing / marking up images
2.1. Open up the item that contains the images you would like to edit.
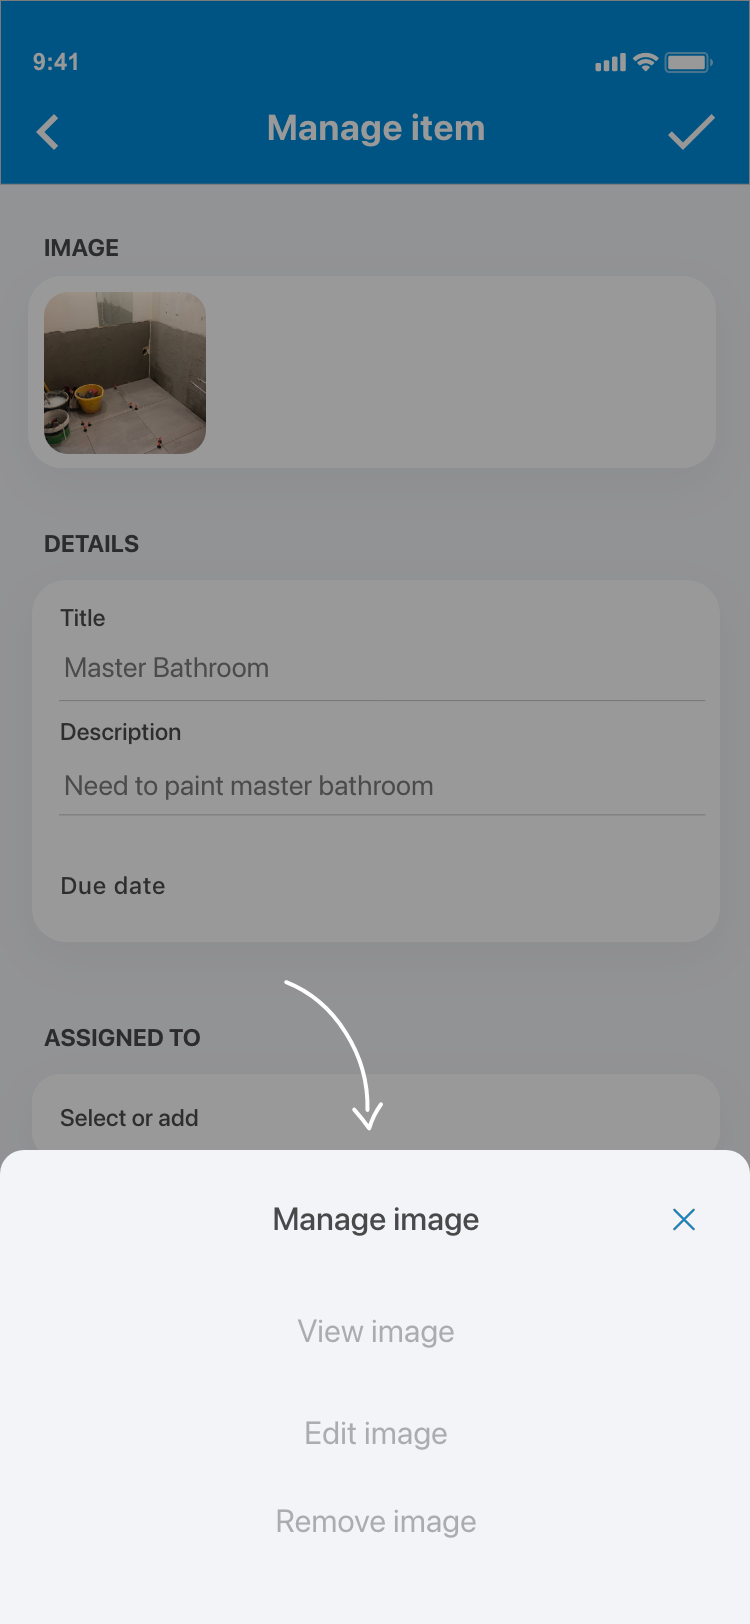
2.2. Tap on the image which you would like to edit and choose Edit image from the Manage image menu. Alternatively, you can use the quick edit button in the corner of the image.
2.3. You will now be presented with the Edit image screen where you can:
- Annotate the image with pen, shapes and text
- Crop and rotate the image
- Redact part of the image
- Adjust the levels such as brightness and contrast
The above options can be chosen using the buttons in the grey toolbar (on mobile, this is at the very bottom of the screen but it could be pinned against the left hand side of the screen on other devices)
2.3.1 Having selected Annotate tool, you will find a secondary toolbar presented which consists of the following buttons from left to right:
-
- Move
- Pen
- Line
- Arrow
- Rectangle
- Circle
- Path
- Text
- Eraser
Select one of the above tools to annotate the image. For most of the tools, a third toolbar will be shown above which provides the option to update things like the colour & line width of the annotation.
The Eraser can be used to delete mark-ups. The Move tool can be used to pick up annotations and move them around the image.
2.3.2 Having selected the Crop tool, you can resize, crop, rotate and scale the image.
Above the image, you will tools for Rotate left and Flip horizontal.
Below the image, you can choose to Rotate or Scale the image using the degree and percentage sliders, respectively.
To crop the image, click on the handles (black circles) in the corners of the image and drag them as required.
2.3.3. Having selected the Redact tool, you can click and drag to redact an area with a rectangular mask. You can create multiple masks and resize, rotate or remove them using the handles and buttons that appear once a redacted are has been selected.
2.3.4. Having selected the Finetune tool, you will find a secondary toolbar presented which consists of the following buttons from left to right:
-
- Brightness
- Contrast
- Saturation
- Exposure
- Temperature
- Gamma
- Clarity
- Vignette
Select any of these tools and use the slider to adjust the levels up or down.
2.4. Edit your image as you desire and once you are done tap Done in the top right of your screen to save your changes. The image will be updated on the item and you will be back in the Manage item screen.
2.5. Tap Save in the top right of your screen again to save the item with the updated image.
2.6. Re-edit and delete markups at any time by going back into the edit image screen by tapping on shapes or text and using the toolbar at the bottom to amend their colour and brush weight or remove them using the bin that appears next to a selected shape.
3. Remove an image
3.1. Open up the item you would like to remove images from.
3.2. Tap the photo which you would like to remove and choose Remove image from the Manage image menu.
3.3. The image will be removed from the item.
3.4. Tap ✓ in the top right of your screen again to save the item with the image now removed.
Note: If you accidentally remove an image you can press the back arrow ❮ in the top left of your screen to cancel your changes and your image will be kept on your item. If you remove an image and save the item then you will not be able to recover this image unless you have it saved on your device. See above to find out how to add an image from your device's image library.
Comments
0 comments
Please sign in to leave a comment.