Description:
You can create reports for multiple lists which are stored against your project. This article provides instructions for creating both PDF & Excel reports of your lists.
Notes:
- Points 7 - 10 are optional. After entering a report Revision you are able to press the ✓ and generate a report. This will use your default settings and will generate all items in the list.
- Points 7 - 10 describe how to override your default settings and filter the items in the report.
Guide:
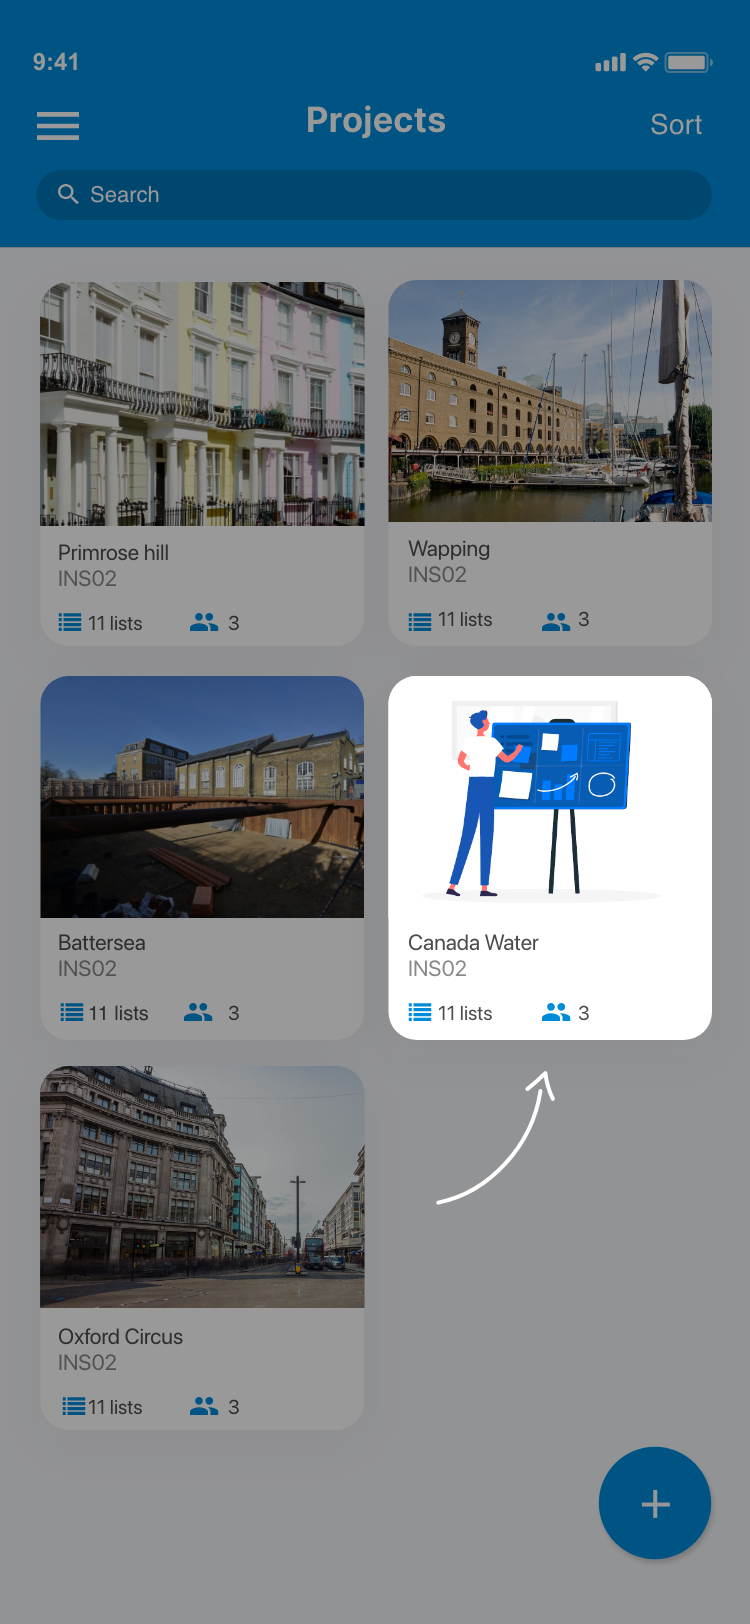
1. From the home screen go to Your project.
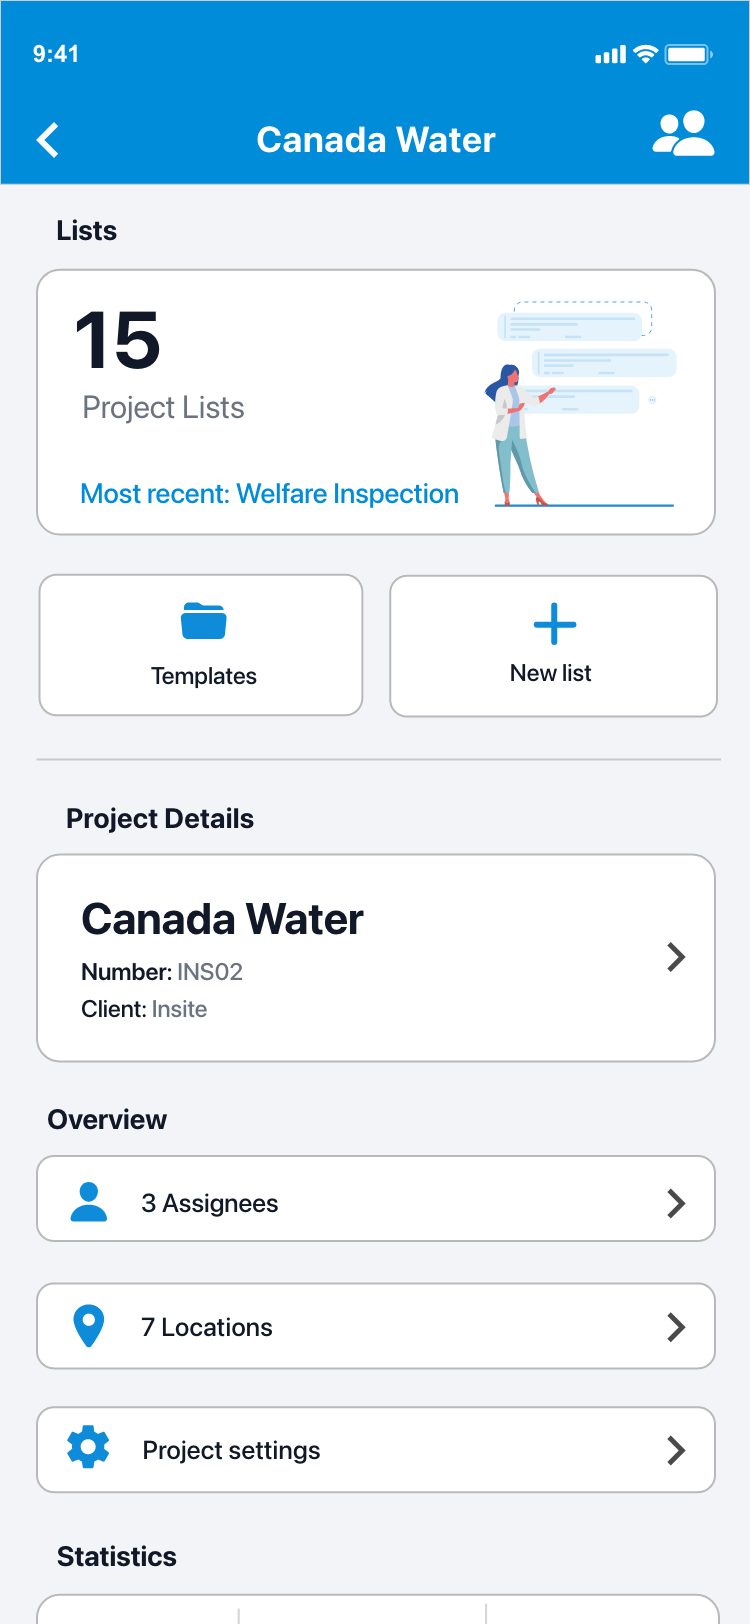
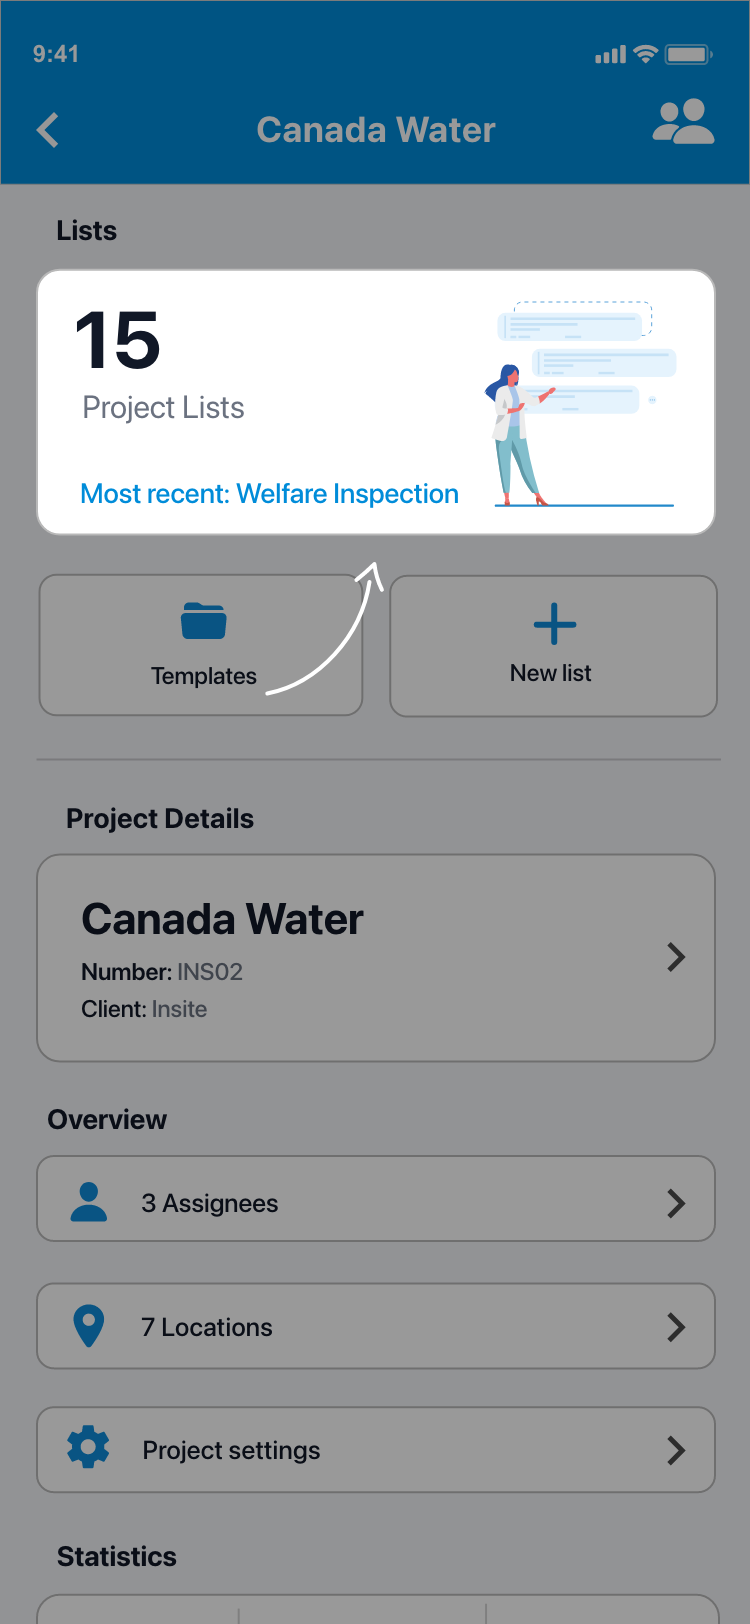
2. You will now be presented with the project overview screen.
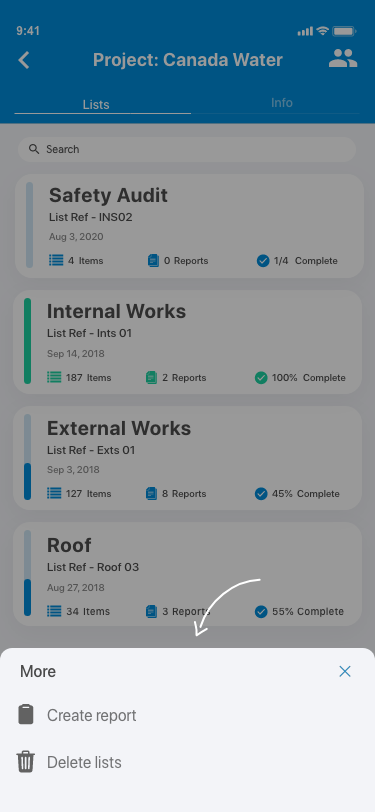
3. Go to your project lists.
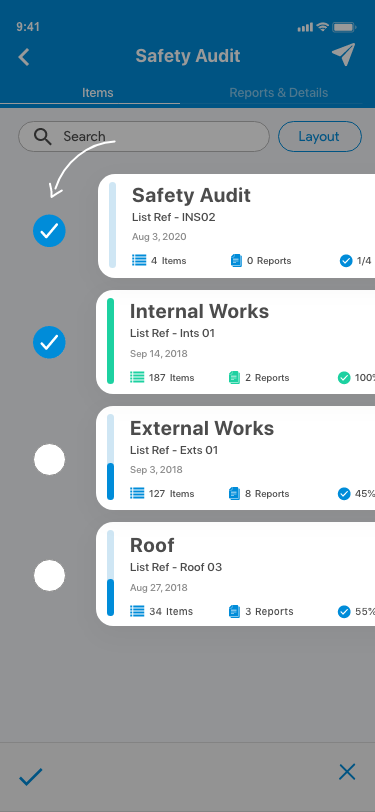
4. Tap on the List actions button in the left-hand corner of the bottom toolbar. Choose Create report from the list of actions to reveal the checkboxes.
5. Select the lists for which you would like to generate a report, and when you are done tap on the ✓ which is now in the left-hand corner of the bottom toolbar.
6. You will now be presented with the Generate report page. Enter a revision reference in the input field under the Information heading.
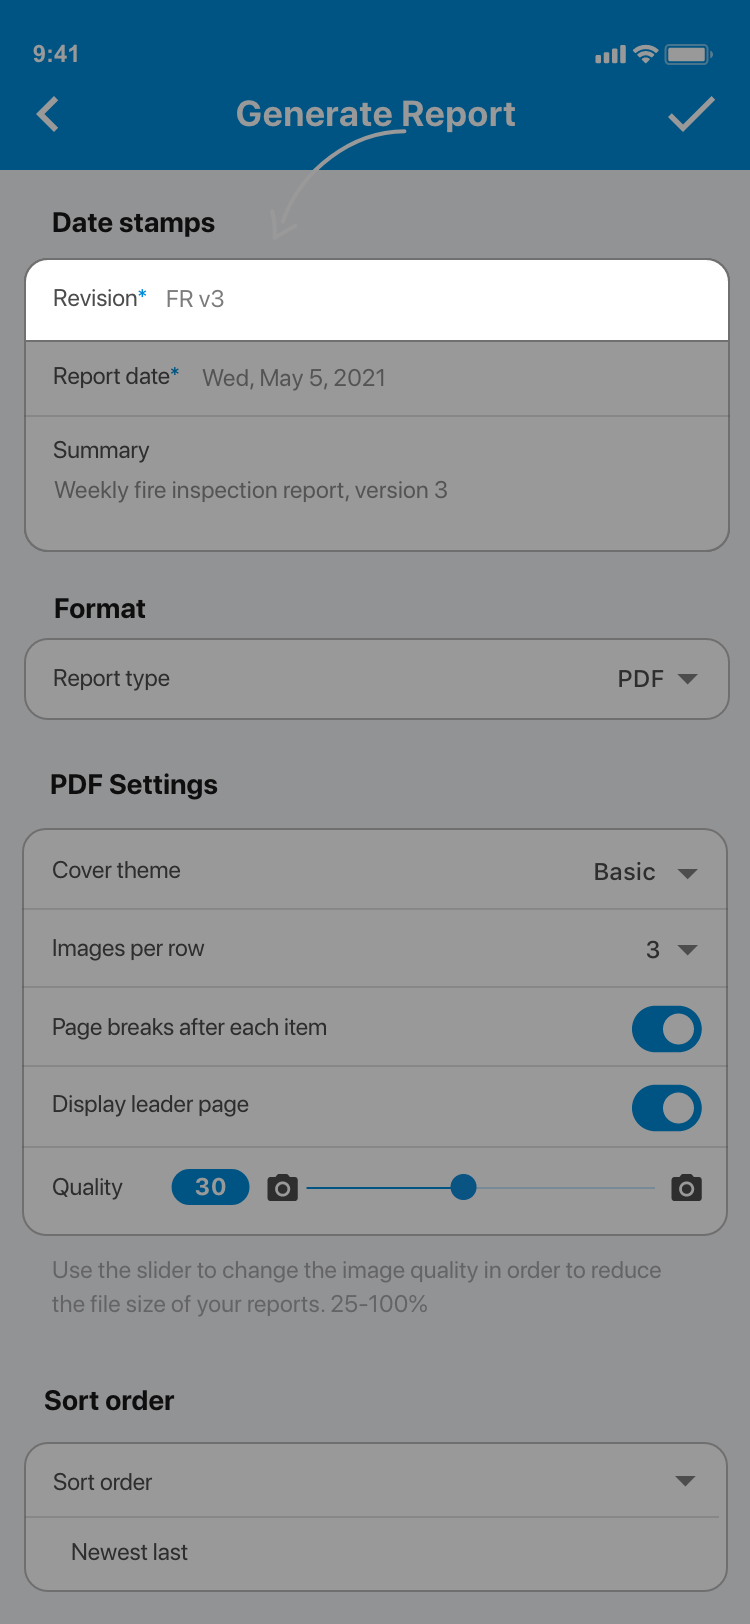
7. Choose which date the report will display for its generated date. By default the report will be dated by the current day, however, you can back or postdate this by clicking on the report date and changing the date on the calendar which appears.
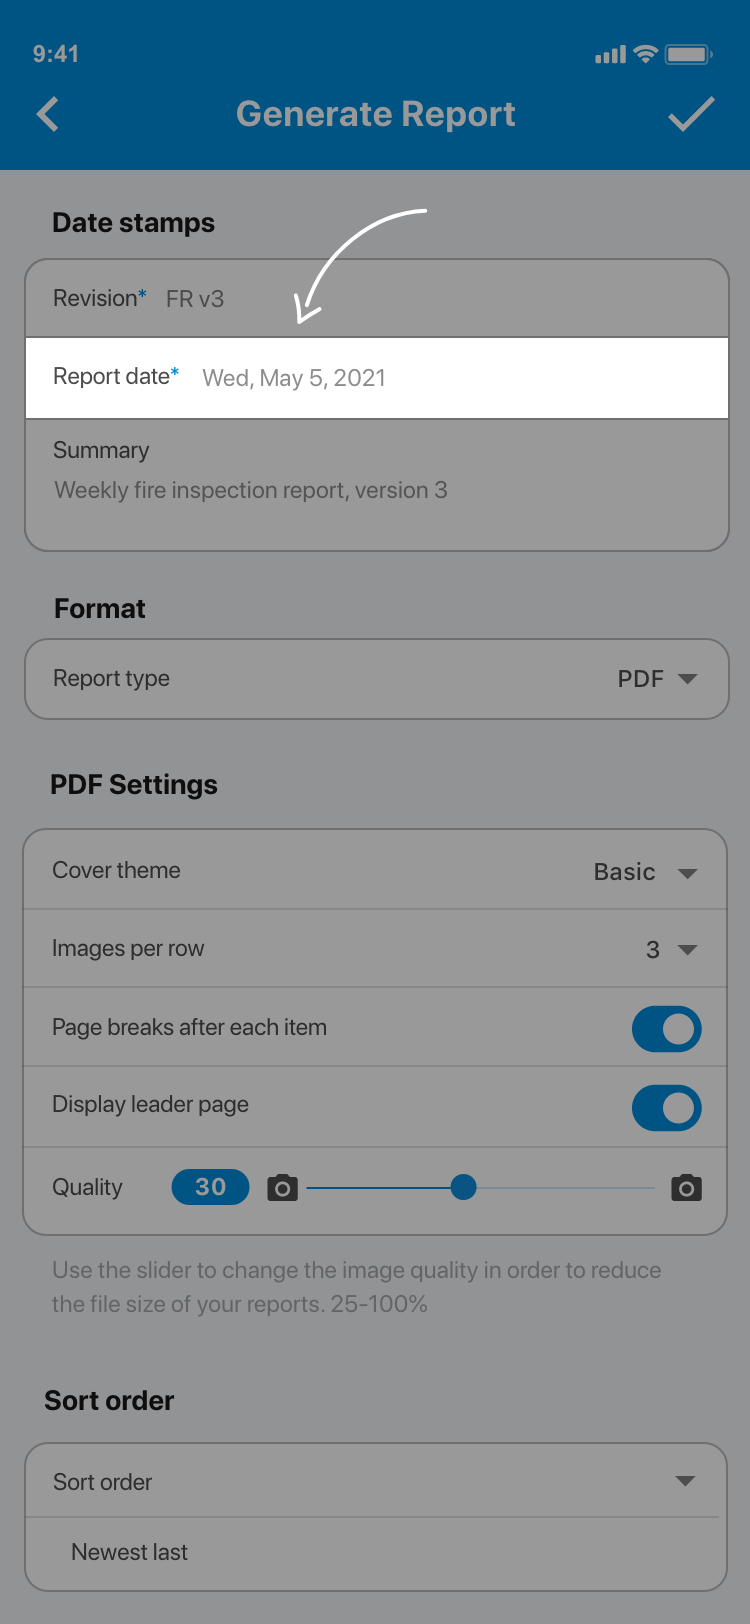 .
.
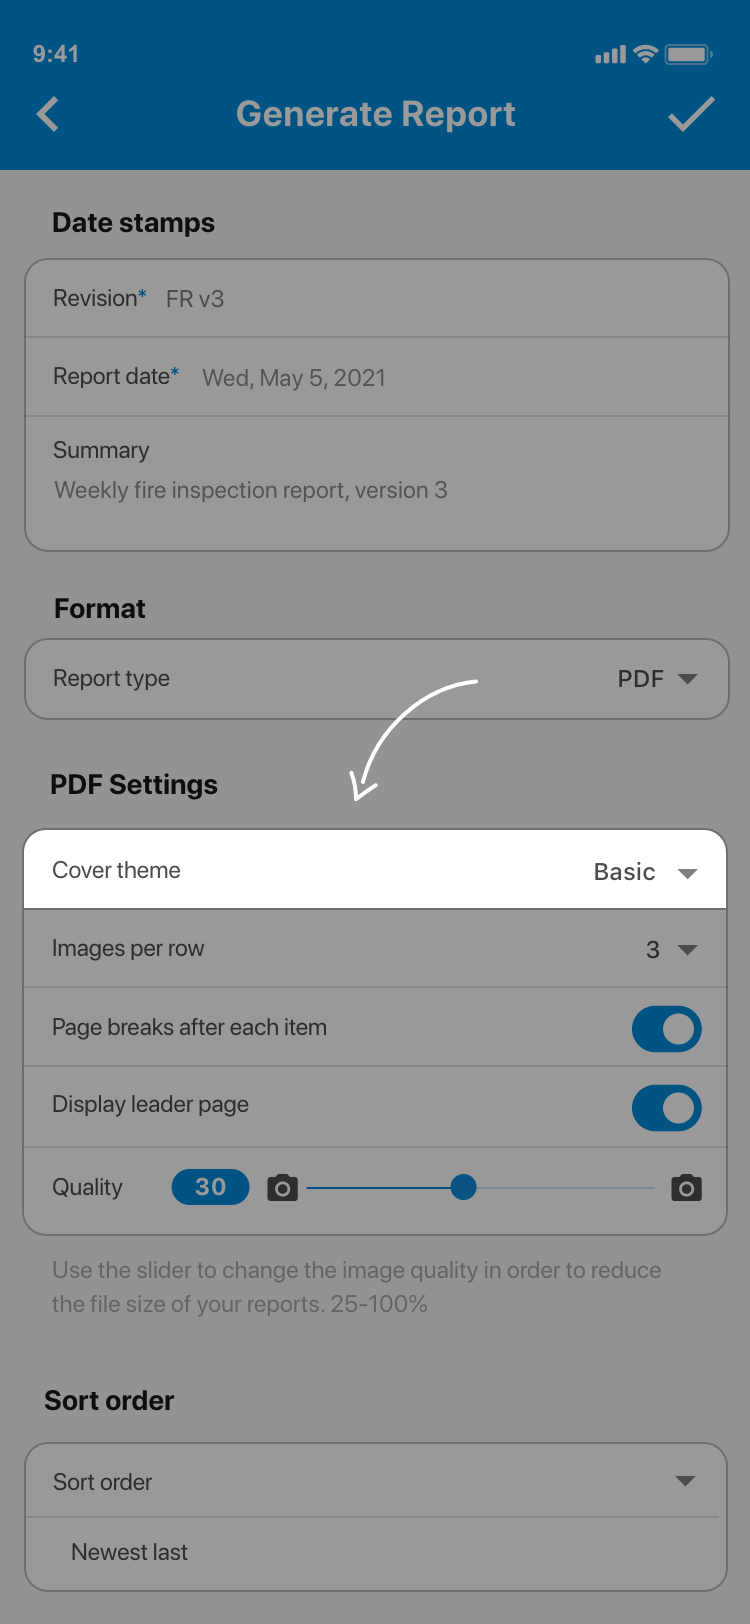
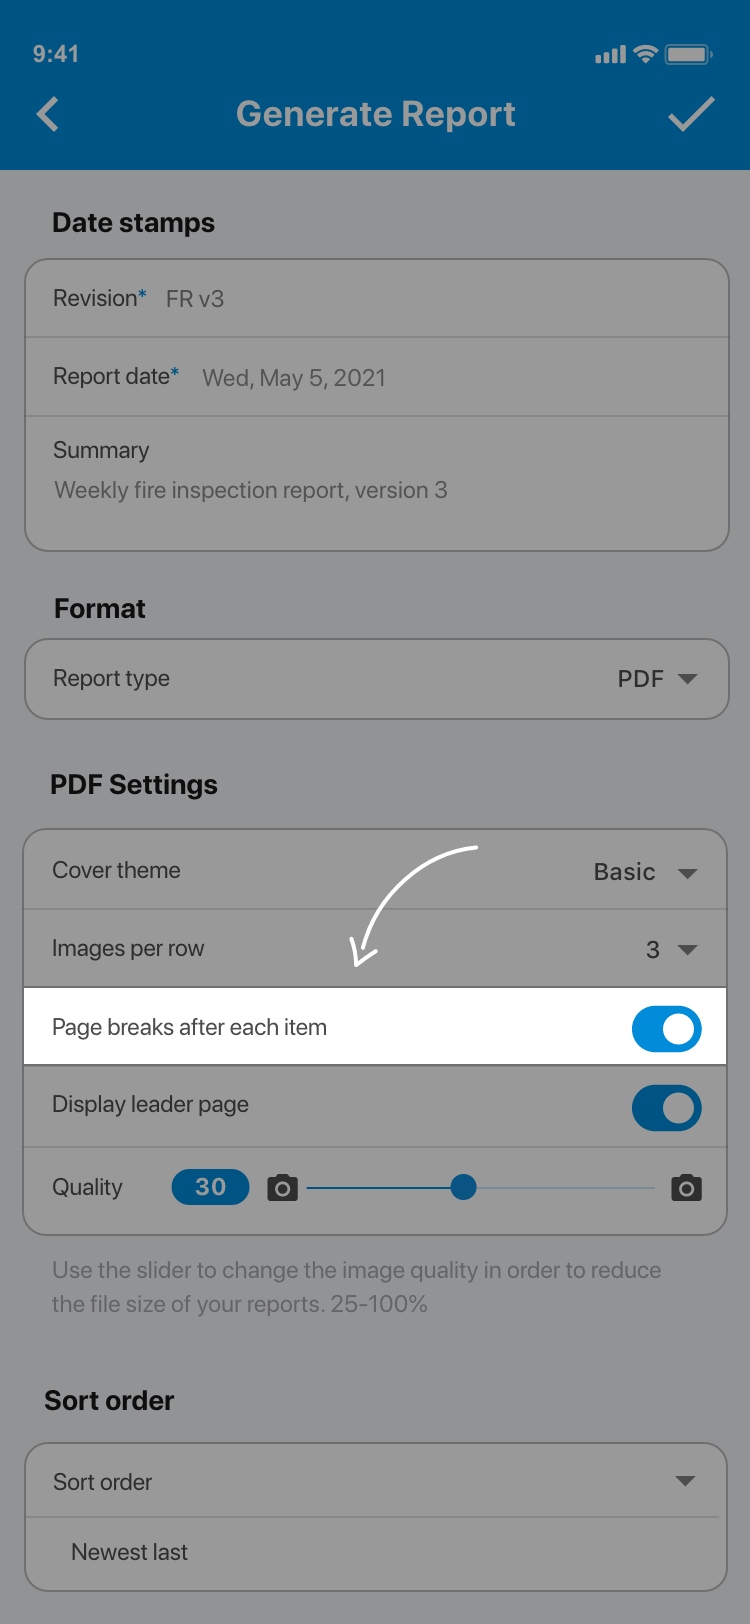
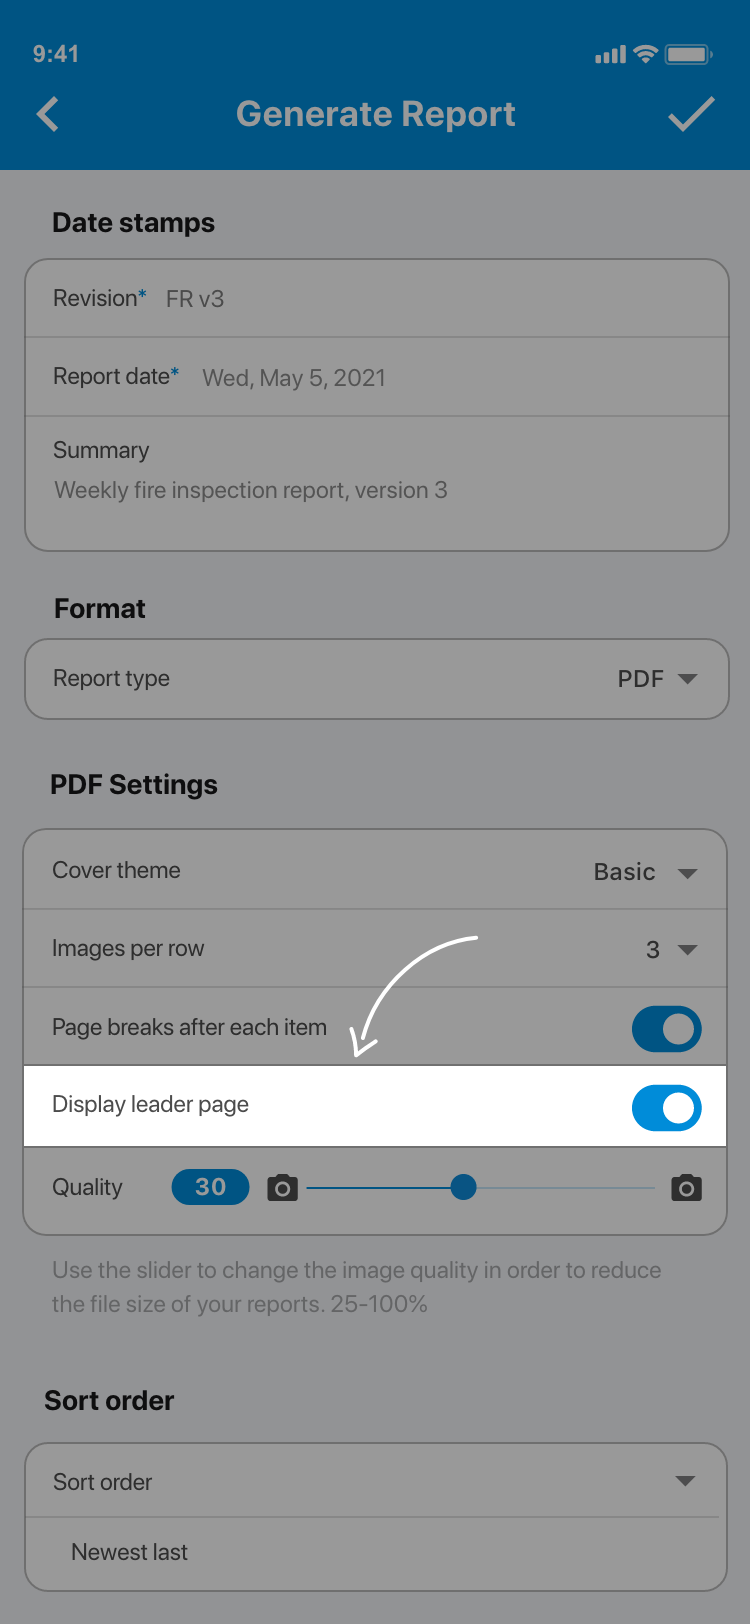
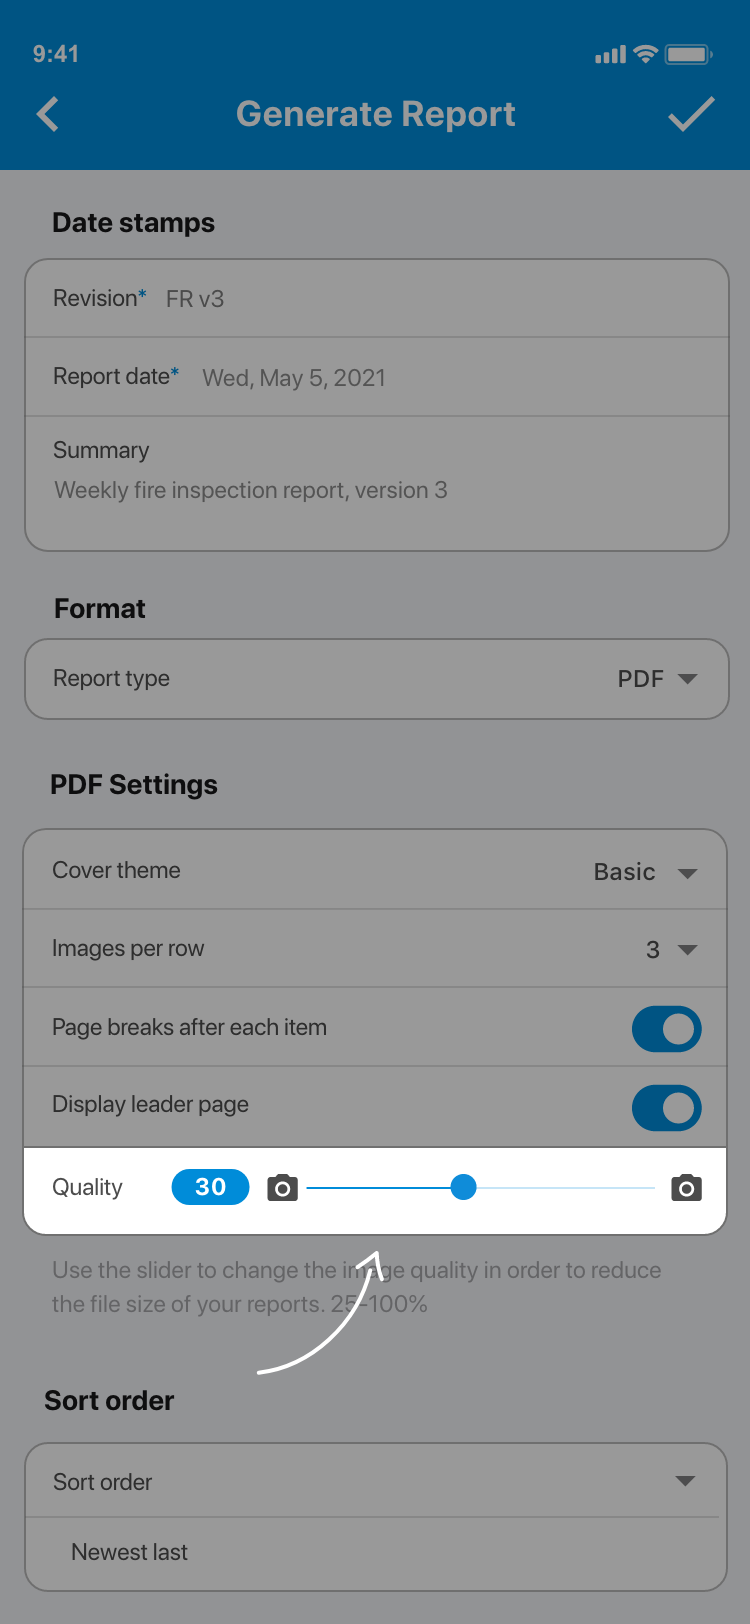
8. Choose a format for the report. You can either choose PDF or Excel.
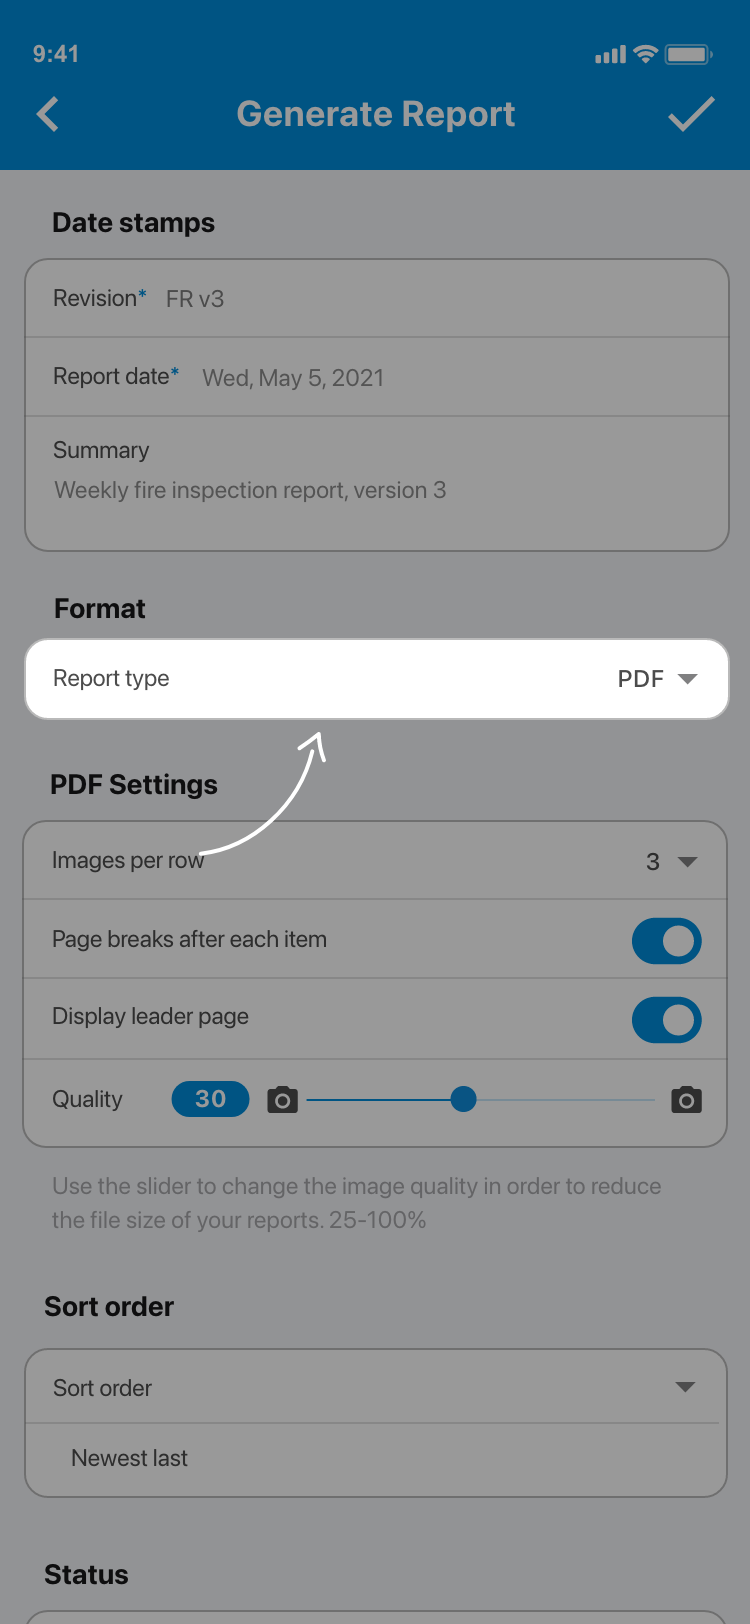
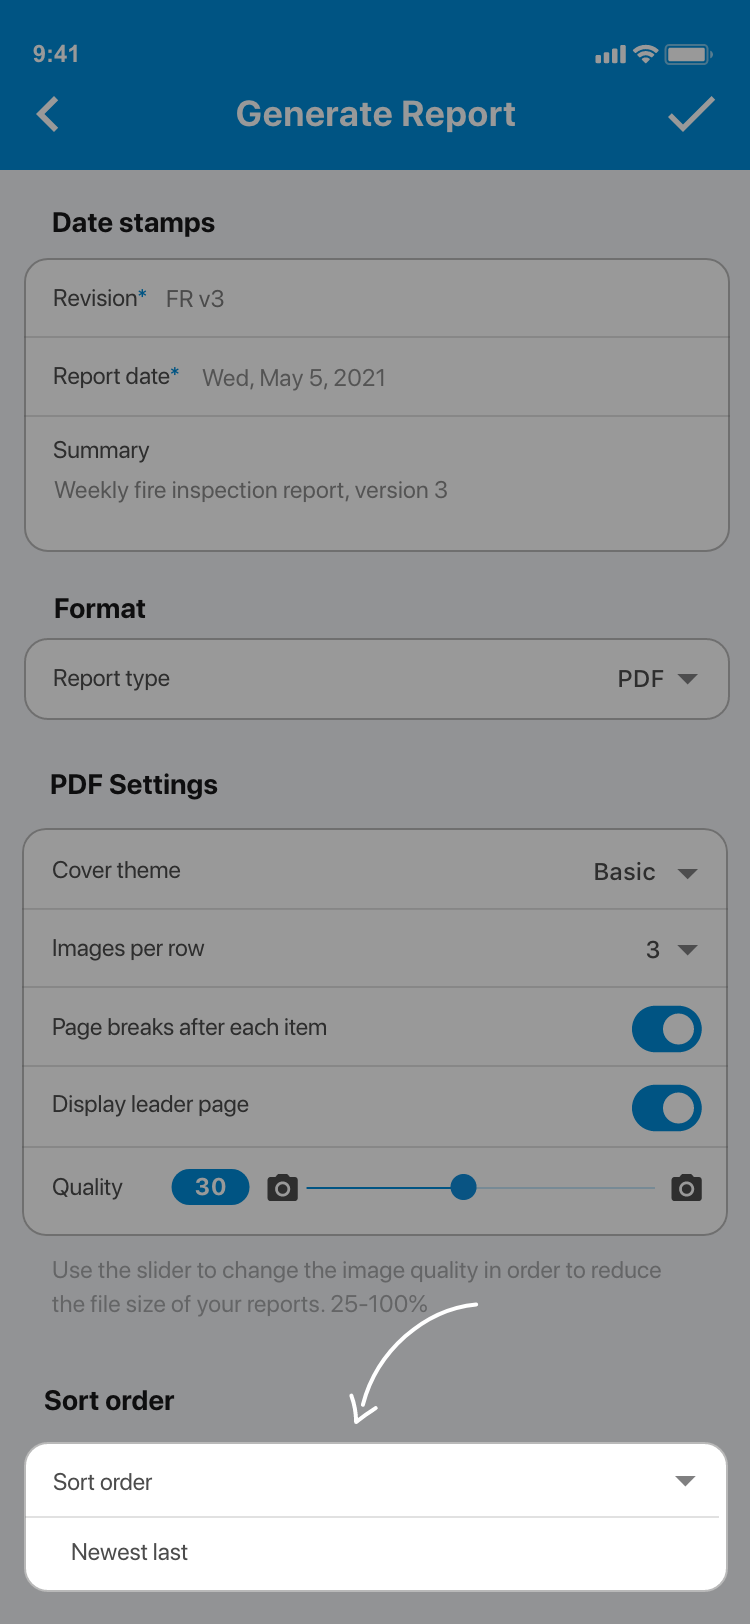
a. If choosing PDF you are able to choose from a range of Cover themes. You can also adjust the Image quality. This allows you to reduce the file size of your reports if they consist of lots of images. Furthermore, you can change the image size using the Images per row option, this allows you to reduce the number of pages in your report. Furthermore, you can toggle the Page breaks after each item and whether to display the Leader pages.

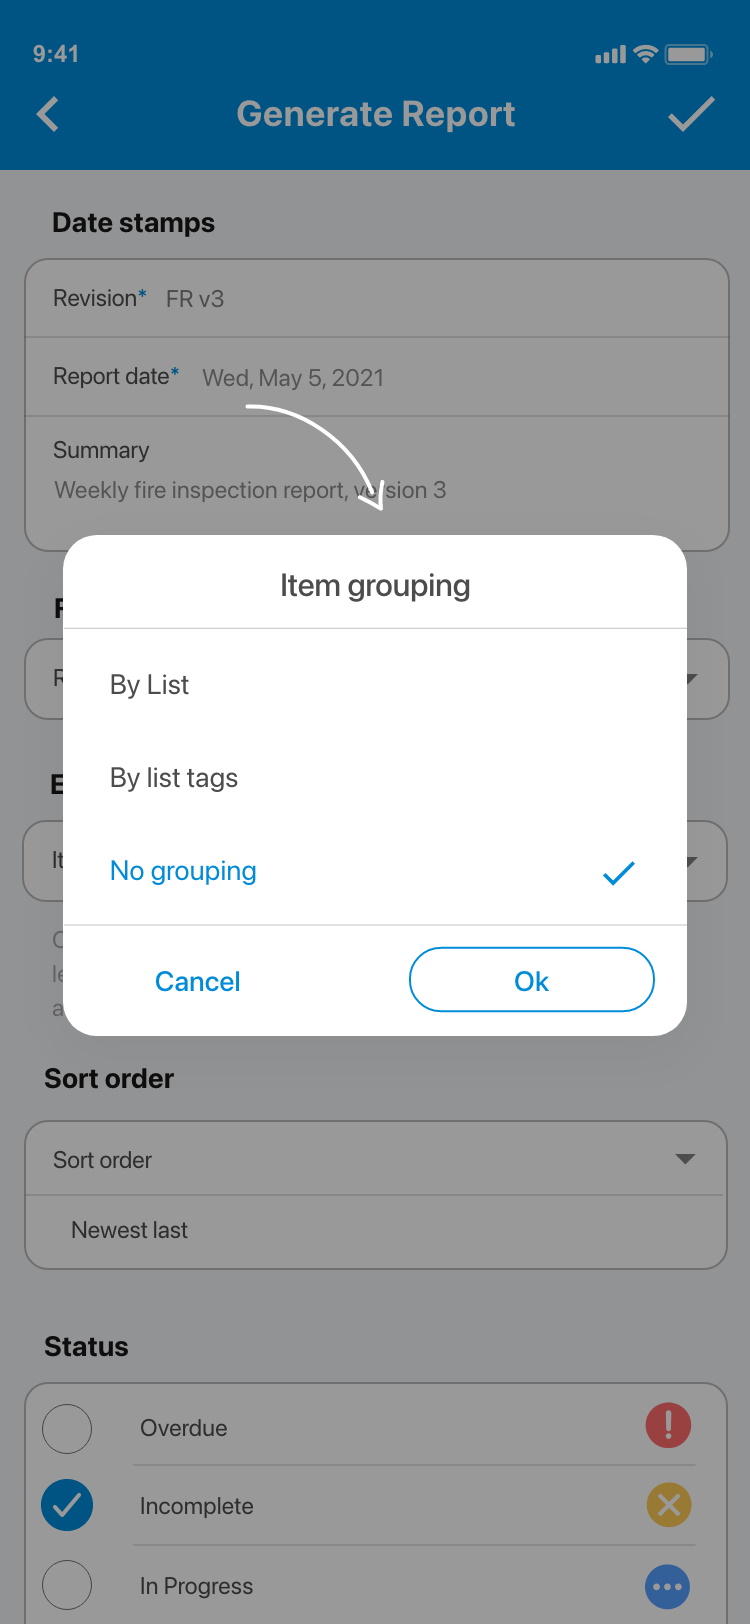
b. If choosing Excel you are able to choose how the lists are grouped:
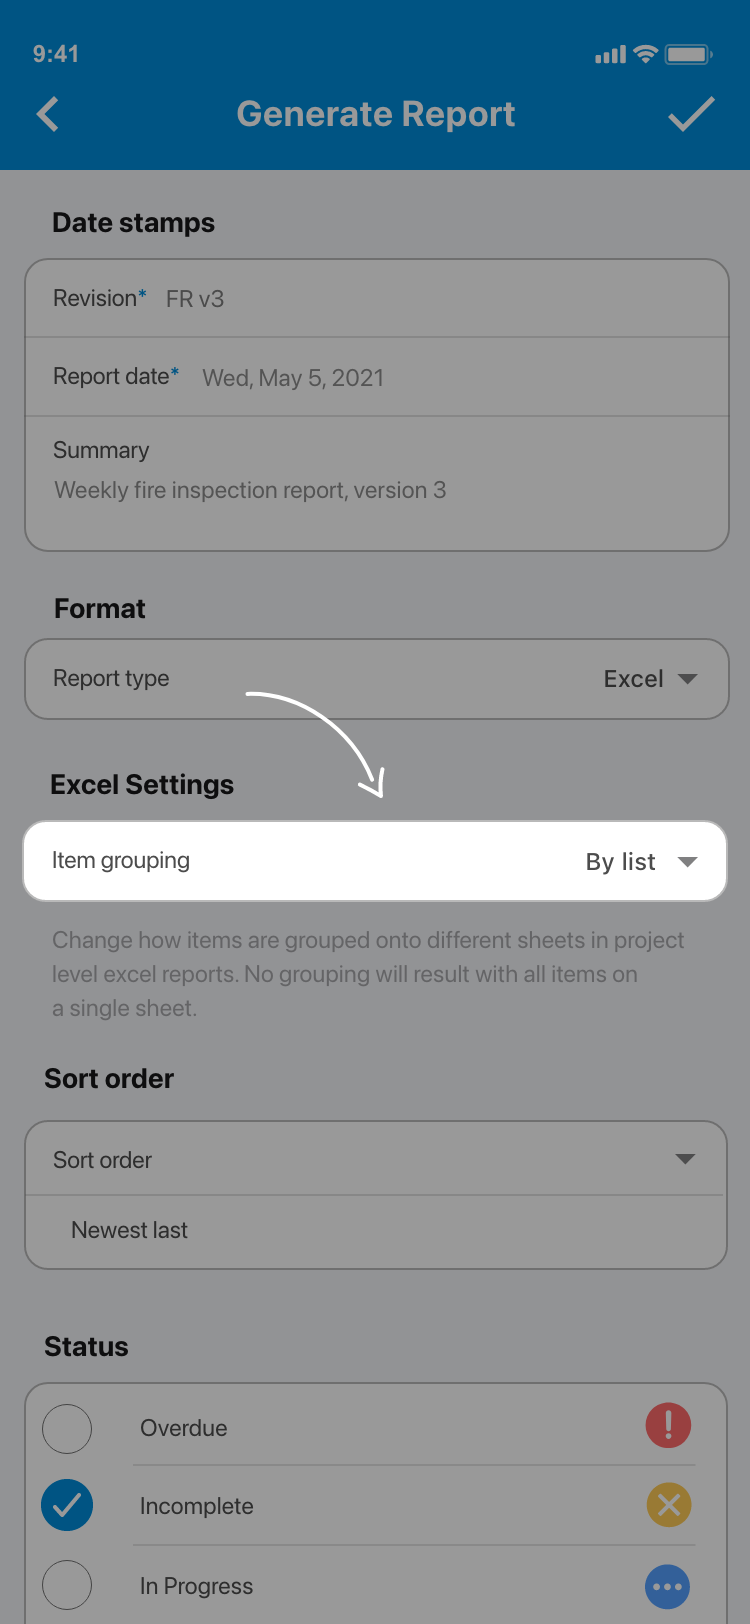
- By default, your report will be exported grouped By list as one document with a sheet for each list.
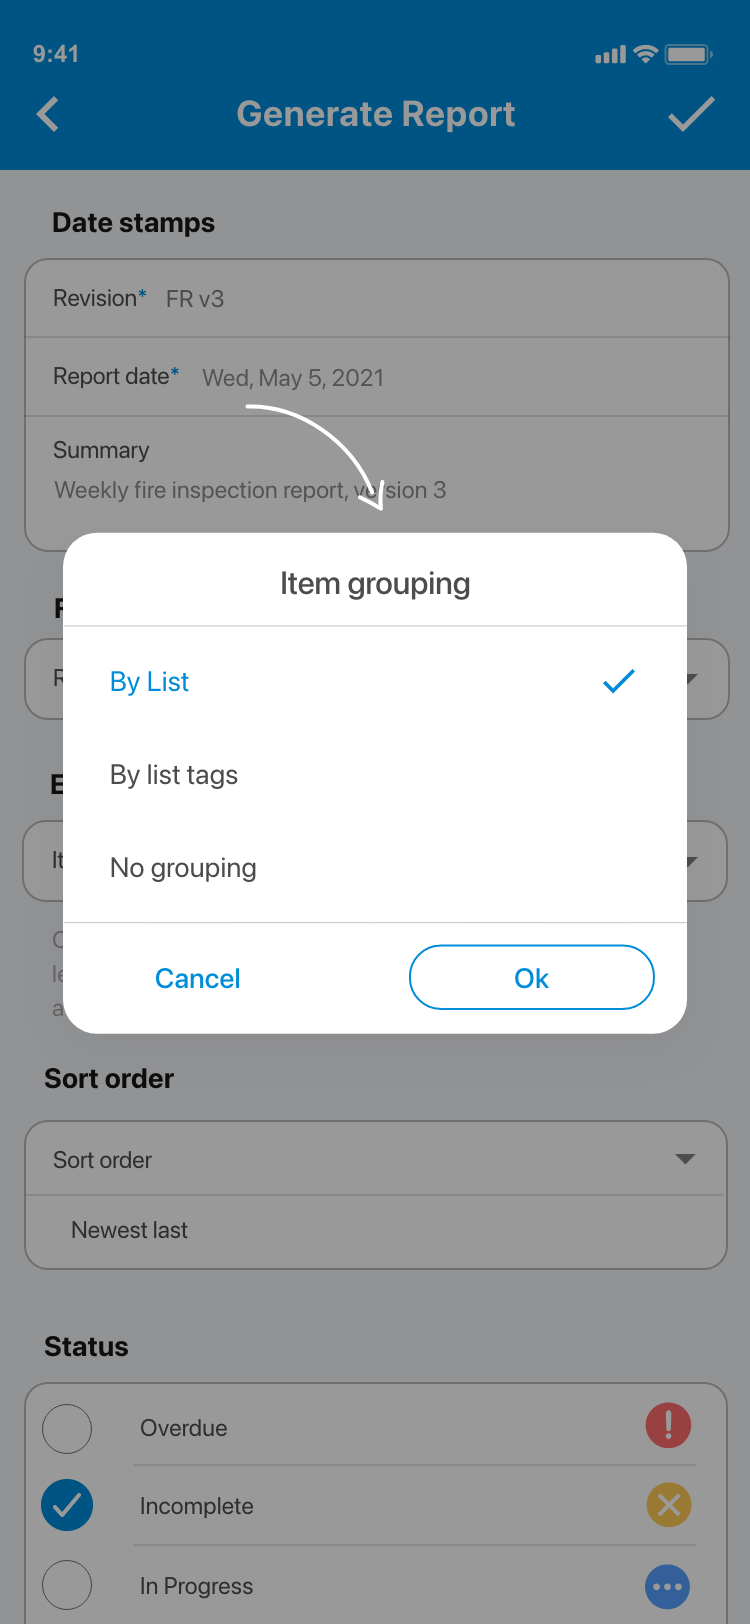
- You can also choose By tag where a sheet will be generated for each tag (in this case lists which have multiple tags will be included in more than one sheet).
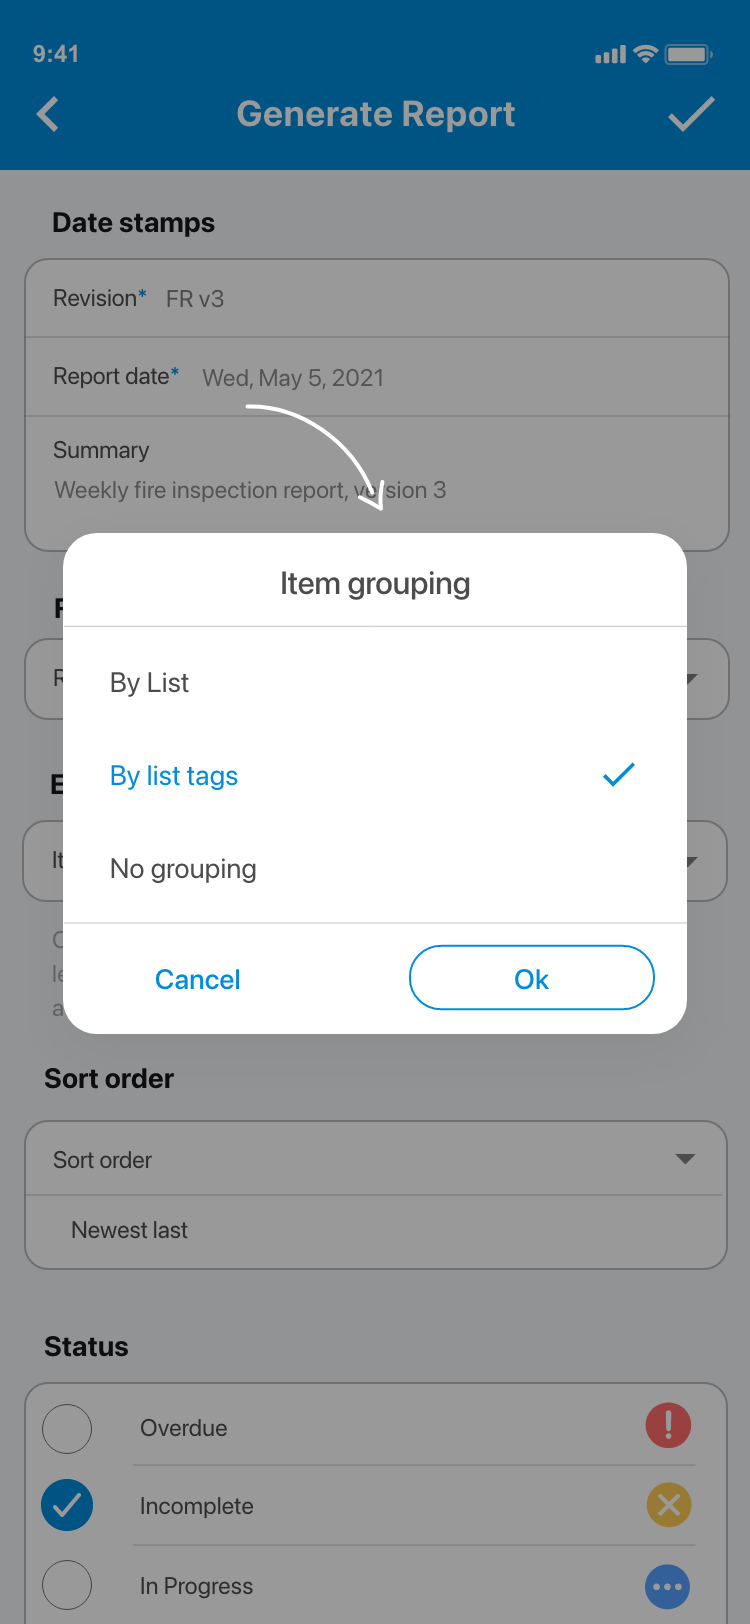
- You can also choose No grouping, this option will produce a single sheet that contains all of the items from the lists you have chosen.
9. Choose which order the items will be sorted in on the report. By default, the items are sorted from old to new.
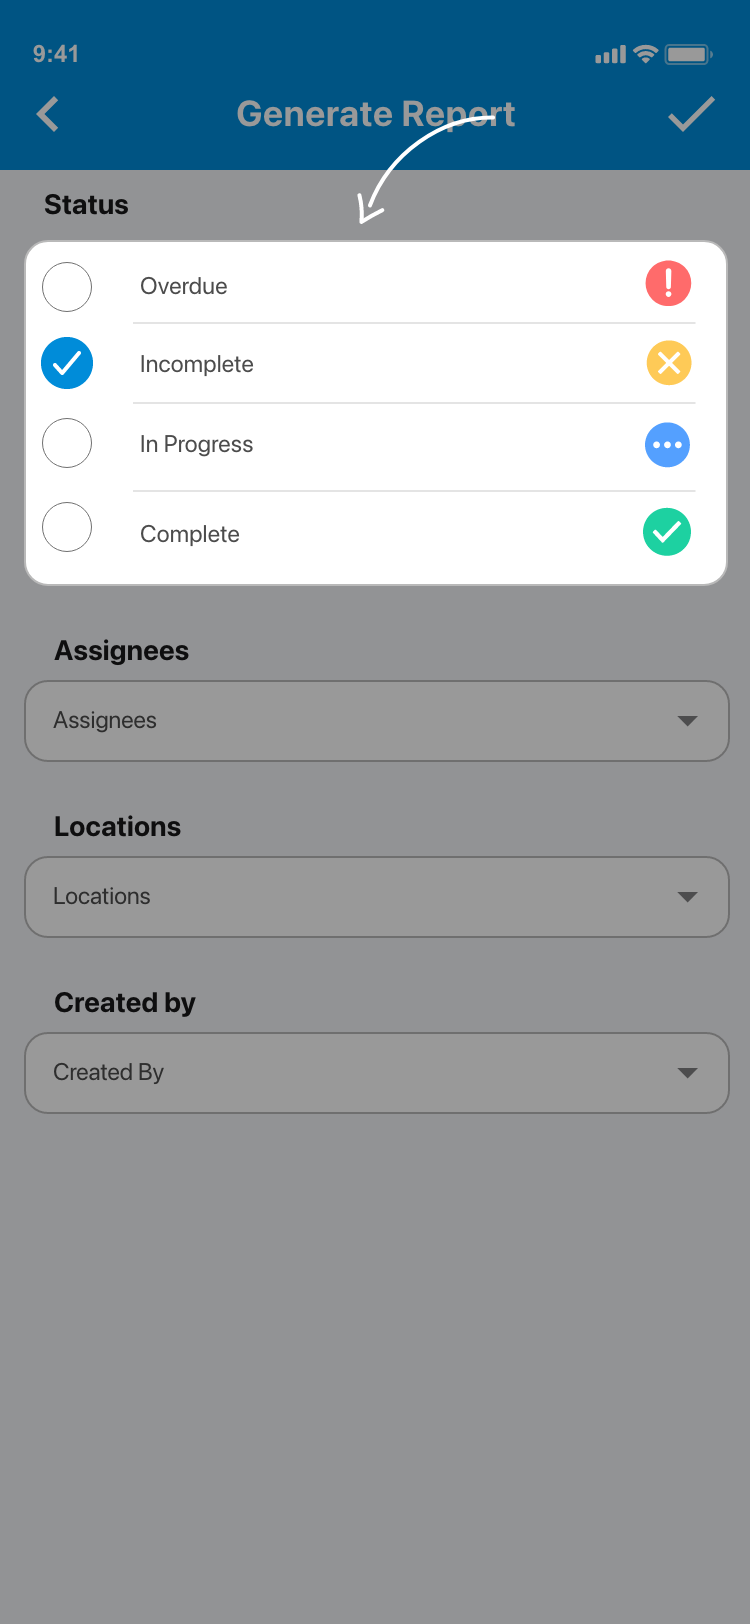
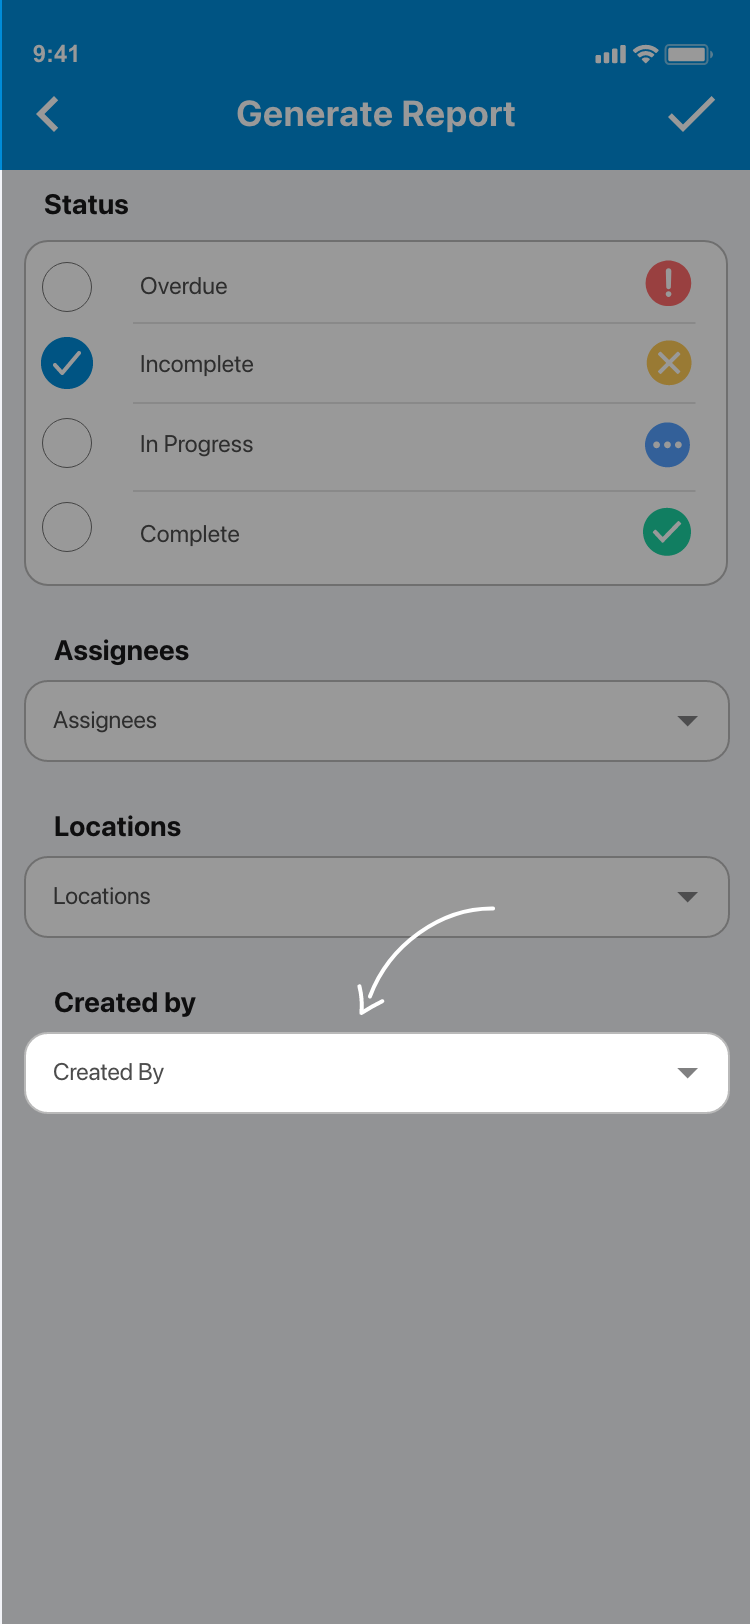
10. Choose your filters for the report. By default, all items will be added to the report but you can filter these by their status, who they are assigned to, or their location.


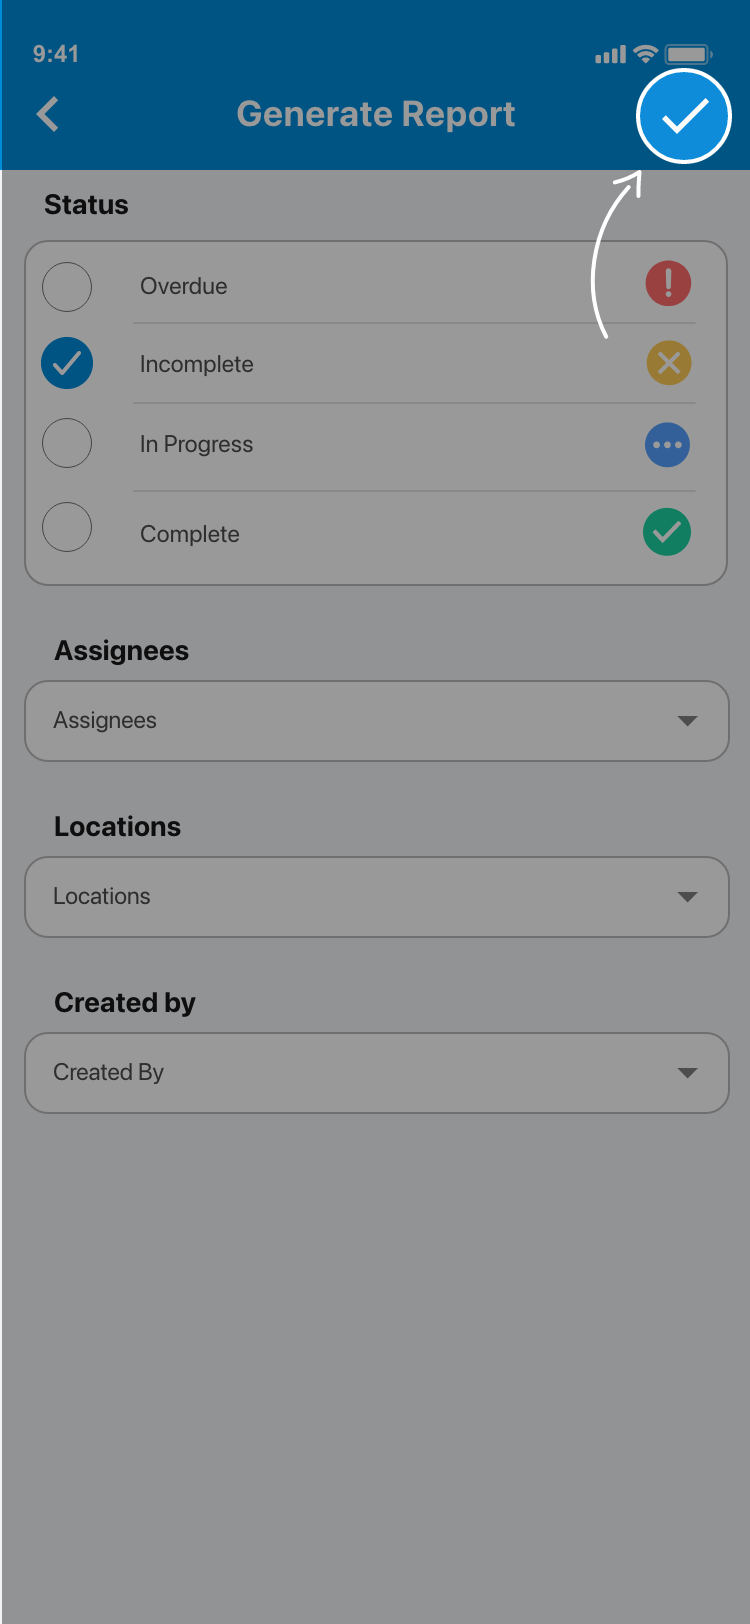
11. Tap the ✓ in the top right of your screen when you are done. Your report will be generated and will now be available under the reports tab.
See also Viewing a report or Distributing a report
Comments
0 comments
Please sign in to leave a comment.